Thursday, May 9, 2013

New Beginnings

In some ways, now is the best part of the racing season. The first race is the coming weekend, so hard cold reality hasn't made its presence yet. The car is prepped and soon to be loaded for the trip to Pocono Raceway. The off-season is over, ahead lies only future victories and glories. And I'm not the only one who thinks that. Racers, as viewed by outside observers, aren't rational people. We spend huge amounts of time, money and human capital to drive vehicles burning ancient dinosaurs on an insane journey, only to end up in the same place 1 or 2 minutes later. And we keep doing it, for 20 minutes, 30 minutes, 90 minutes at a shot. So we Racers are dreamers, full of hope, looking for that next podium and $5 cheap plastic trophy. But now, before everything starts, ahead lies only possibilities. The night before I leave for the track, I'm going to pause, have a beer, and savor the moment.

So enough philosophy, I'll leave that for Harry Hall. Lets see what's been done since my last update. We'll start with the 944.

#88 ready to rumble

So, in the last couple of months the 44 has gotten a turbo front end, replaced a tie rod, front engine reseal, strut hats replaced with camber plates, balance shaft seals replaced, pilot bearing and rear main seal replaced, corner balanced and aligned, most of the paint has been refreshed with new decals, new hood pins rewelded, new front pads, new rear rotors, rear banana control arm bearing replaced, new windshield (with 2 layer tearoffs - hope to reduce the yearly replacement due to track rocks) and I'm sure I'm missing stuff.


Hopefully I haven't forgotten anything important. I'll be rolling it into the trailer shortly.

Next to receive some off-season love, is my tow vehicle, a 2002 Ford F250. It has about 75K on it (mostly track towing miles), but being a diesel, it's only being broken in. It got a nice fresh oil change and then I installed a couple of electronic gadgets to make the tow more enjoyable.

First I installed a license plate camera so I can see the trailer when I'm backing up and trying to connect. After many years I'm pretty good, but there are times when I'm hopping in and out of the cab, moving 6 inches to the left, to only be 3inches off to the right. Rinse and repeat... And it has infra-red leds, so I can see in the dark. And what's even cooler, is I bought a 2 camera system. The 2nd camera will go on the back of the trailer. This will allow me to see what's behind me, like when I'm backing up into a blind area, or even more useful, to see if any civilian idiots or highway patrolmen are parked 5 feet behind me when I'm at speed. I got a cool little trailer wiggle trick I can do to see back there using my mirrors, but sometimes that's just not appropriate.

Here's the dash with all the gizmos in place.

Not quite an airliner cockpit, but getting there.
not seen are the Electronic Counter Measures aka V-1

On the left is the 4 inch LCD monitor for the rear cameras. On the right is the Pressure Pro Tire Pressure Monitor for the Trailer (not new, but which I love, highly recommended). And in the middle, a new head unit.

My truck is a 2002 Ford F250 which came out just about the same time the iPod was born. It has a nice sound system and holds 5 CDs. But time, and technology, moves on. Now all my tunes and audio books are all digital and stored on an iPod. For many years, my solution was an HK Drive+Play which connected my iPod and broadcast it over a FM channel. While not great, it worked okay. But now, 10 years later it was time for something better. Better turned out to be a Kenwood KIV-701 media receiver. Integrated iPod connectivity, able to display my playlists on the nice screen, easy to control while driving, just a nice unit. I had one in my WRX for the last several months - 2002 WRX, same year, same old CD player, etc - and loved it enough to buy one for the truck. I'm ready for those long tows now. Me happy.


So enough of whats in front of me while driving, how about what's behind me?

While I'm not done yet, it's functional and ready for hauling.

View from the rear

chairs, sleeping cot, table, jack, helmet and suit holder and electric cords
tire rack to the rear

Nitrogen bottle and hose, tie down racks

Important Driver Aid: Coffee Pot in corner
misc bins for just stuff

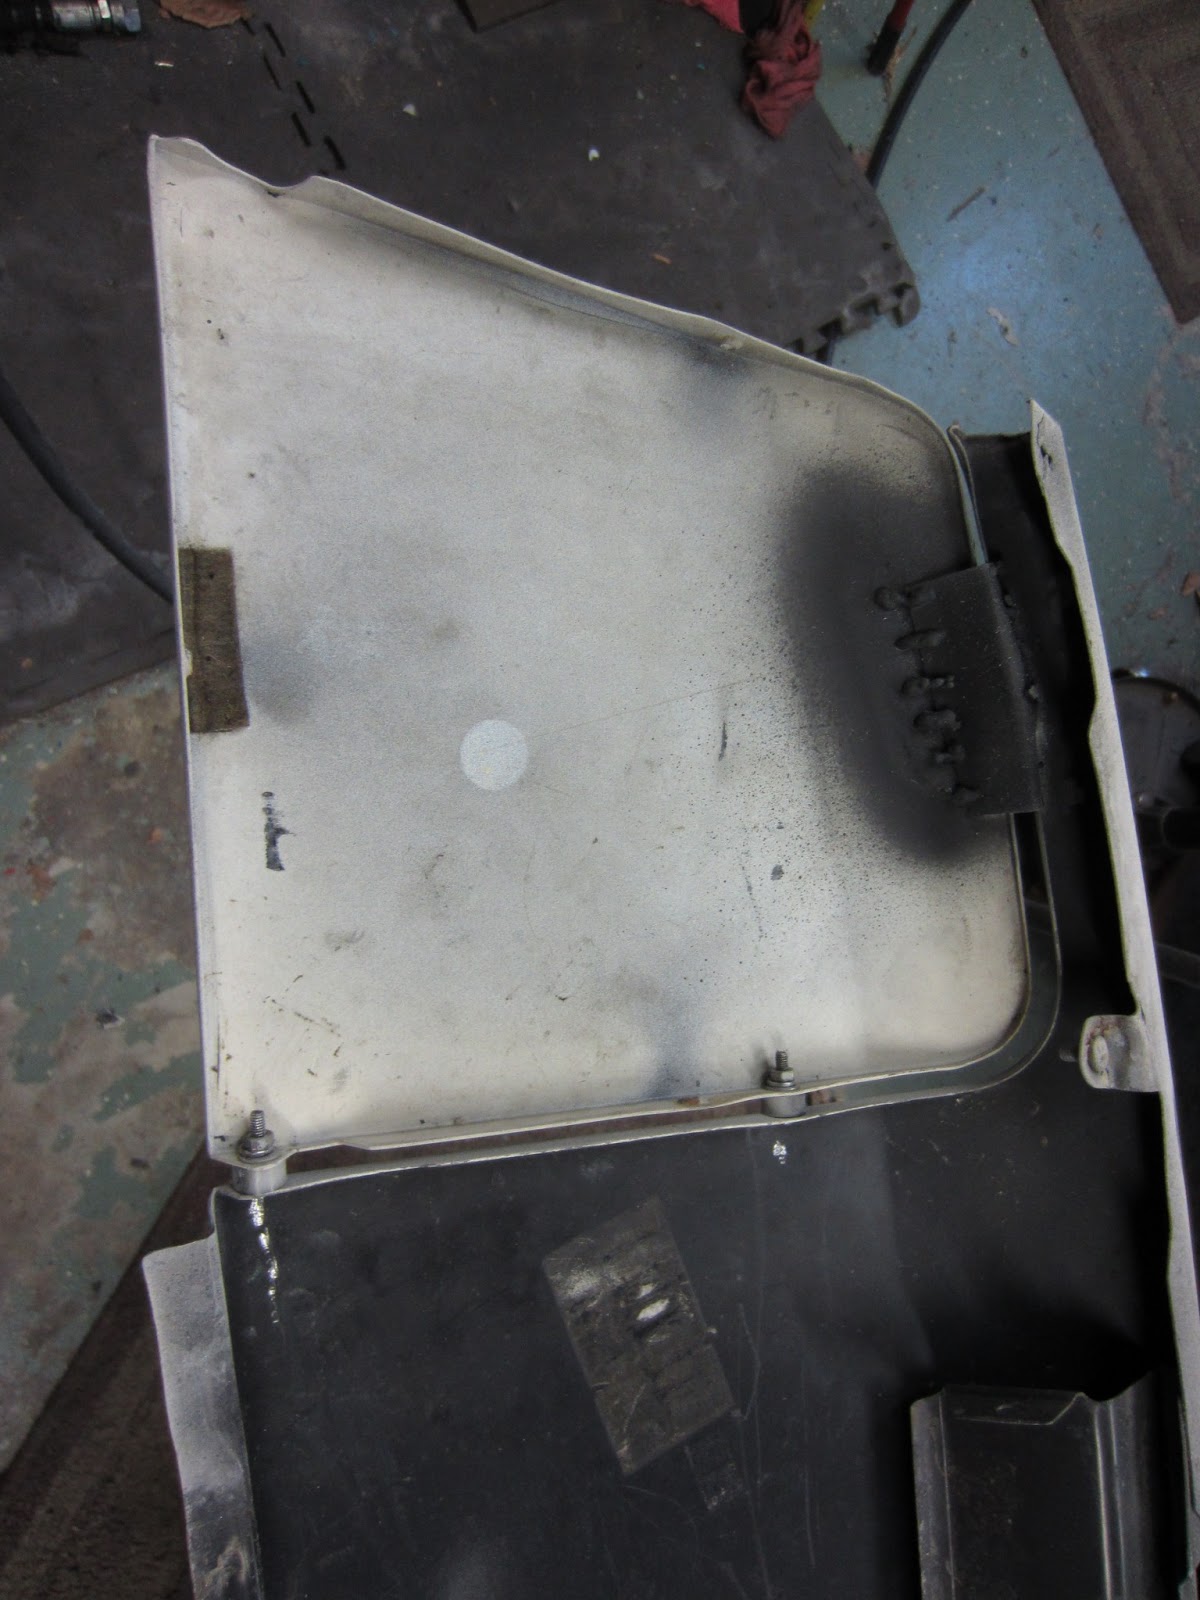
So the interior is 95% done, still a little tweaks to go, but that will work out over the season. Have more outside work to go: replace damaged trim, a busted fender skirt, power wash the roof and install that rear view camera on the back.

But the pressure is off, the off-season tasks are done, right now, as the song goes, "The future's so bright, I gotta wear shades". Here's to a successful 2013 season.

Monday, April 15, 2013

More progress

Another week and weekend is in the books. It was a weird weather week, 85 degrees! earlier in the week, but back to a more seasonal 55-60 by the weekend. With the sun setting later and more reasonable temps, it easier to stay focused on the trailer/racecar/etc tasks rather than blowing them off and heading for the TiVo and a beer. Though I did manage to sandwich in the F1 sessions in between bouts of work.

But enough piddle, this is the internet, and this is nothing without pics.

The front of the trailer is pretty close to being done. Got my workshelf mounted and the shelving done. The shelving had to be "downsized" to fit in the available space. This meant hacking it apart with a cut-off tool and re-welding it back together again.


Got my flat-screen mount fixed to the frame of the trailer. An important race accessory. Needed for session data analysis, and driver relaxation (Netflix streaming).

A microwave was mounted and a new electrical outlet to support it was installed. I won't be hosting wine and cheese parties, but it will be appreciated to heat up coffee and sandwiches.

Misc bins to stuff all that extraneous crap were remounted.


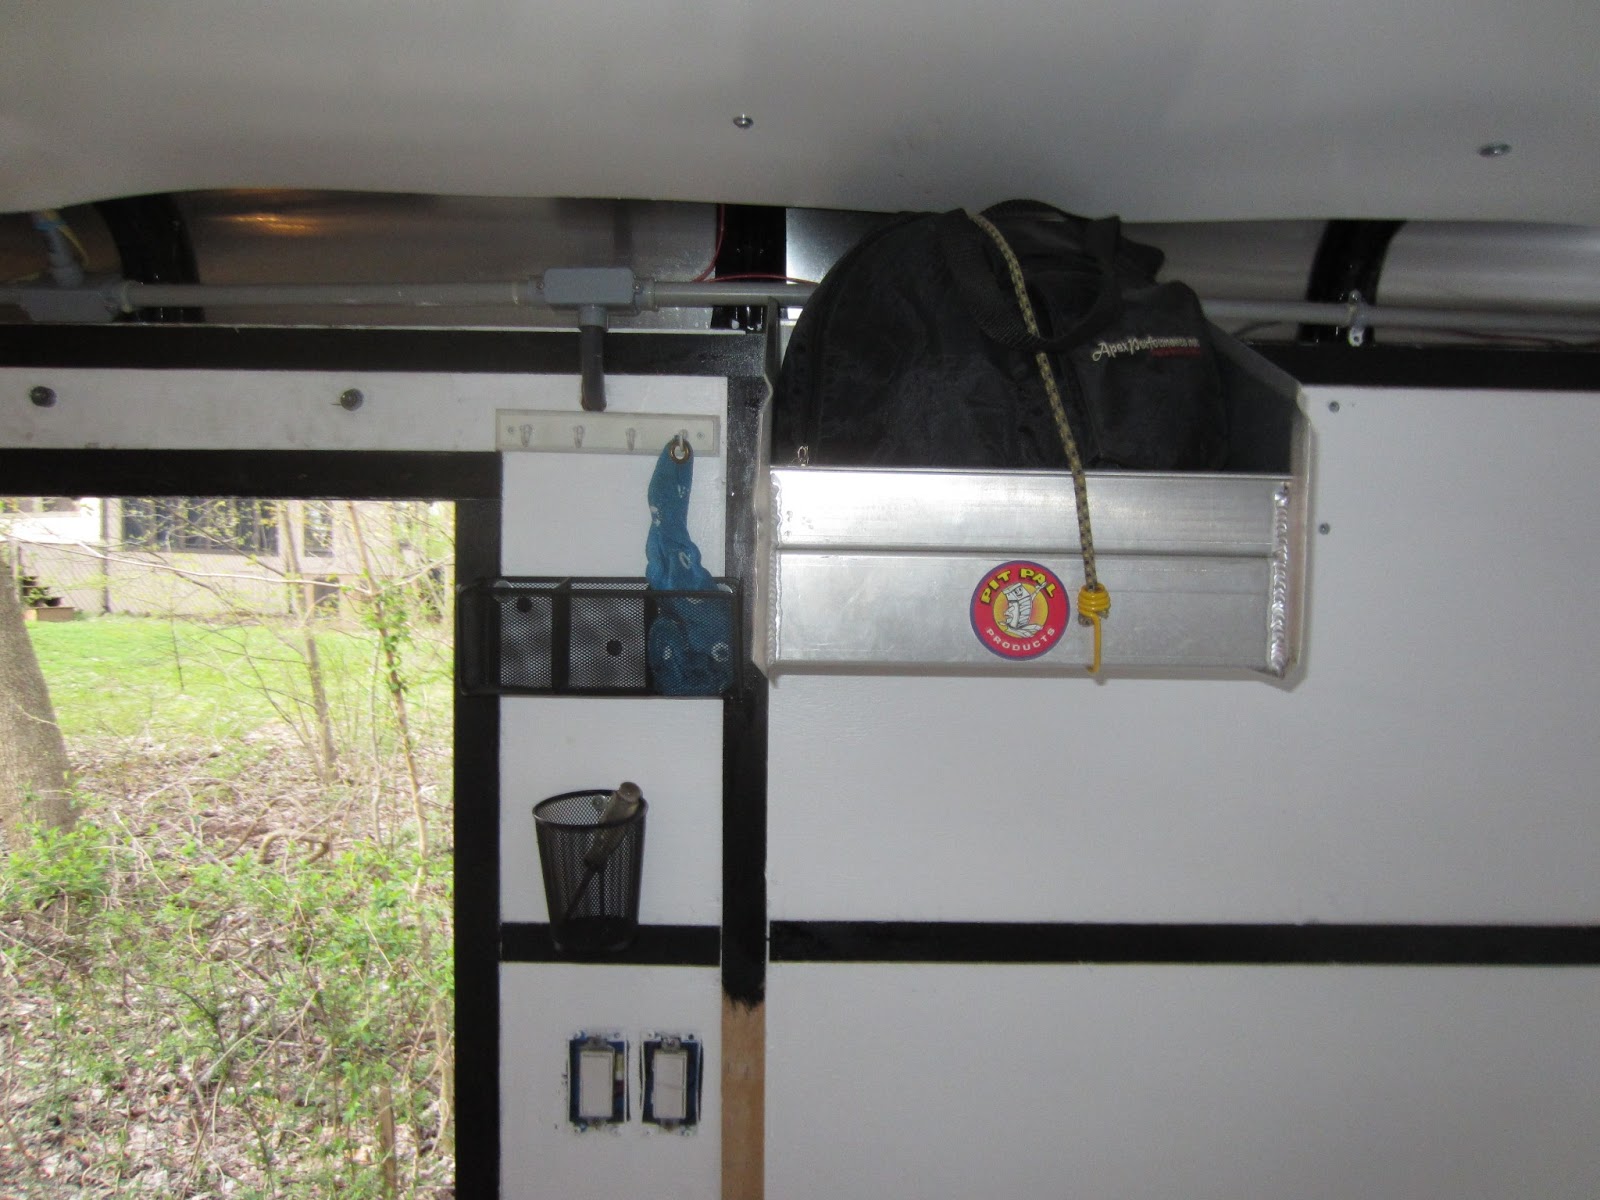
More storage bins and my combo helmet shelf and race suit hanger PitPal piece installed.


The finished result. Racks and bins in place, toolbox mounted


Not in the pics, but the remainder of the interior trim was cut, installed and all painted.

944 Race car work also continues. I welded my hood pins which were removed when going to the turbo nose. The header panel and headlight covers were attached and welded together as one unit as I don't have any headlights anymore - gone many years ago.


The front now. If I get ambitious and run out of things to do, maybe I'll bondo up the seams around the headlight covers and make it all seamless.


Last week I also replaced a bent tie rod, which other than being the first time I have done one, went pretty smooth. Coming up this week I'll be taking a look at the rear banana arm bearing. Later!

Monday, April 8, 2013

Weekend report

Another weekend, another stretch in the Trailer Rehab Mines.  By Sunday night I was beat and my knees didn't want to bend anymore, but made good (visible) progress.

Lets start with the good. Here's a pic at the end. Looking pretty good eh?


The floor came out great, looking good. The paint flakes and the silicia I added gives it good traction so I won't fall on my ass when the car pees a little bit of oil.

I added ATP (aluminum tread plate) for the wheel tracks, and all new tie down hardware. So it can now actually be used to haul cars if needed.


Most of the panel trim has been installed and painted, still have a little bit to finish up.

Started work on my shelving for the front nose area. I bought some industrial shelving bits from Lowes. To make it fit in my available space, I need to cut it apart and re-weld some of the pieces. The first piece, the main rail, came out pretty good. I actually had the first welds that I wouldn't be ashamed of showing someone, nice little overlapping circles just like its supposed to be in the books. Picking up the gas kit for my welding rig was a good idea.


And the job isn't finished until it's signed off by the site inspector...


Sunday, March 31, 2013

Trailer update

It's raining outside now, the end of a 3 day weekend, but at least it isn't 35 degrees anymore. Starting on Friday we got up into the mid to upper 50's for the first time in months, and it was just in time too. It wasn't a play weekend for me, too much work to do to get ready for race season. Its only 6 weeks away and the clock's ticking.

But here Sunday evening, I think I've finally come out the other side, at least for the trailer rehab. Since the last post, I've been painfully removing all the floor tiles. That wasn't so bad, the bad was once pried up, they left behind a gooey mess.

You can see the tile glue left behind on the plywood

Since then I've mounted all the plywood walls. painted them, cut the trim from a sheet of thin plywood, mounted and painted most of the trim, painted the wheel boxes, and spent hours upon hours scraping up the tile adhesive.


About 2/3 done. The foreground floor is milky looking. That all
leftover glue.


The only thing to do with this is pour on some thick adhesive remover, let it sit for an hour or two, and laboriously scrape the vile mixture off. This was sheer torture for my knees and back and I could only do 2 hour stints at night during the work week. It didn't help that it was 29 degrees outside. Even with my space heater going in the trailer, the cold minimized the effectiveness of the remover.

 The pleasant arrival of warmer weather this weekend helped matters. By Saturday evening, I had all the glue up and the floor washed and cleaned.


Sunday afternoon saw the application of the epoxy flooring well underway. This is a 2 part epoxy from Lowes, used mainly for garage floors but can also be used on wood. I picked a nice dark gray.

Application in progress

The process was to mix the 2 parts in a bucket, stirring with an electric drill for 3 minutes and then the clock was ticking. It had to be applied in the next 3-5 minutes otherwise it would start to harden in the bucket. Luckily the weather was cloudy today and cooler than yesterday which extended the application period.

Once mixed, you pour a line of material and take a squeegee on a pole and squeegee it across the floor to get a nice even thickness. Next take the roller and roll the floor 90 degrees from the squeequee application. Let it setup for 10 minutes and then re-roller. Now you can broadcast the paint flakes into the air. I also added silica as an anti-slip material.

Front done


Close-up of the flake pattern. I used red, white and blue.

View of the finished floor. Those aren't defects in the middle, but
the holes for in-floor tie-downs.


Done. Much nicer than those chewed up checkered tiles. Also did the tailgate.

And about 5 minutes after I finished the last bits, it started raining. Perfect timing. I closed the trailer up and backed it into it's normal spot where it will sit for the next day or two curing.

Still plenty on my to-do list for the trailer. Lots of hours still ahead, but getting the floor done was the biggest item on the list. But for now, I need to drink some beer* and finish up Season 2 of the Game of Thrones. The rest can wait a bit.

* Evolution Rise Up Stout

Wednesday, March 13, 2013

Red Sided Motel Renovation

I haven't been posting much lately. That's not because I'm slacking off - ok, maybe a little - but because I'm engaged in some very tedious work.  So a little update.

So work is continuing on the racecar for the upcoming season. The car came back from Bodymotion with a nice frame for the turbo nose conversion, but there's still a fair bit of work ahead for me.

A boo-boo loading the car into the trailer - man that's spoiler is low! - lead to some unplanned fiberglass work. It's all better now. Since then I've cut out the radiator vent and mounted a mesh grill. I also sourced a tow strap from the UK, bolted it to where my bumper struts used to be mounted, and cut the hole for it in the spoiler.

Mesh grill keeps the rubber track debris from the radiator

Flexible loop means no more barking my shin when walking past the car.
The trick Mantisport strut hats for my front suspension had to go. The coils were not just binding but stuck inside. That effectively reduced my suspension travel by several inches. Took an hour to free both sides. I replaced them with my old Ground Control camber plates.

As part of the turbo nose project, I plan to relocate my oil cooler so it's fed by air from the slot above the radiator slot. While pulling the cooler and hose bits as part of this I think I finally found my last oil leak. The oil seal ring on the sandwich plate between the engine and oil filter was chewed up. That's most likely the source. But I've been wrong before. A new seal is on order.

But what has really been capturing my time is the full renovation of my home away from home, the Red Sided Motel aka my enclosed trailer.

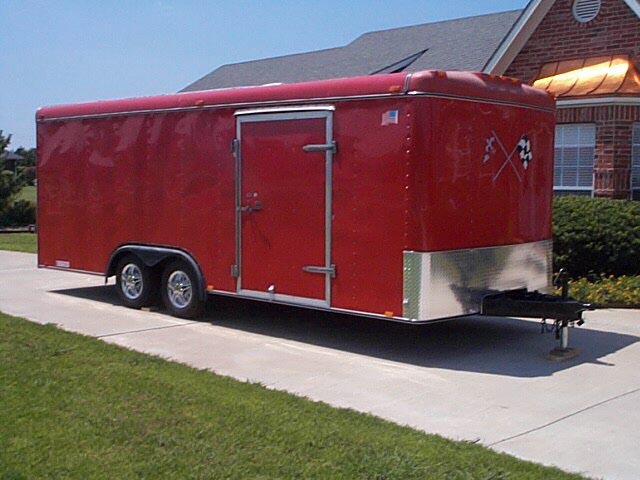
It's hard to believe, but I've had the trailer for over 10 years now, being bought back in 2002.


Back at it's original home in Dallas Texas in 2002

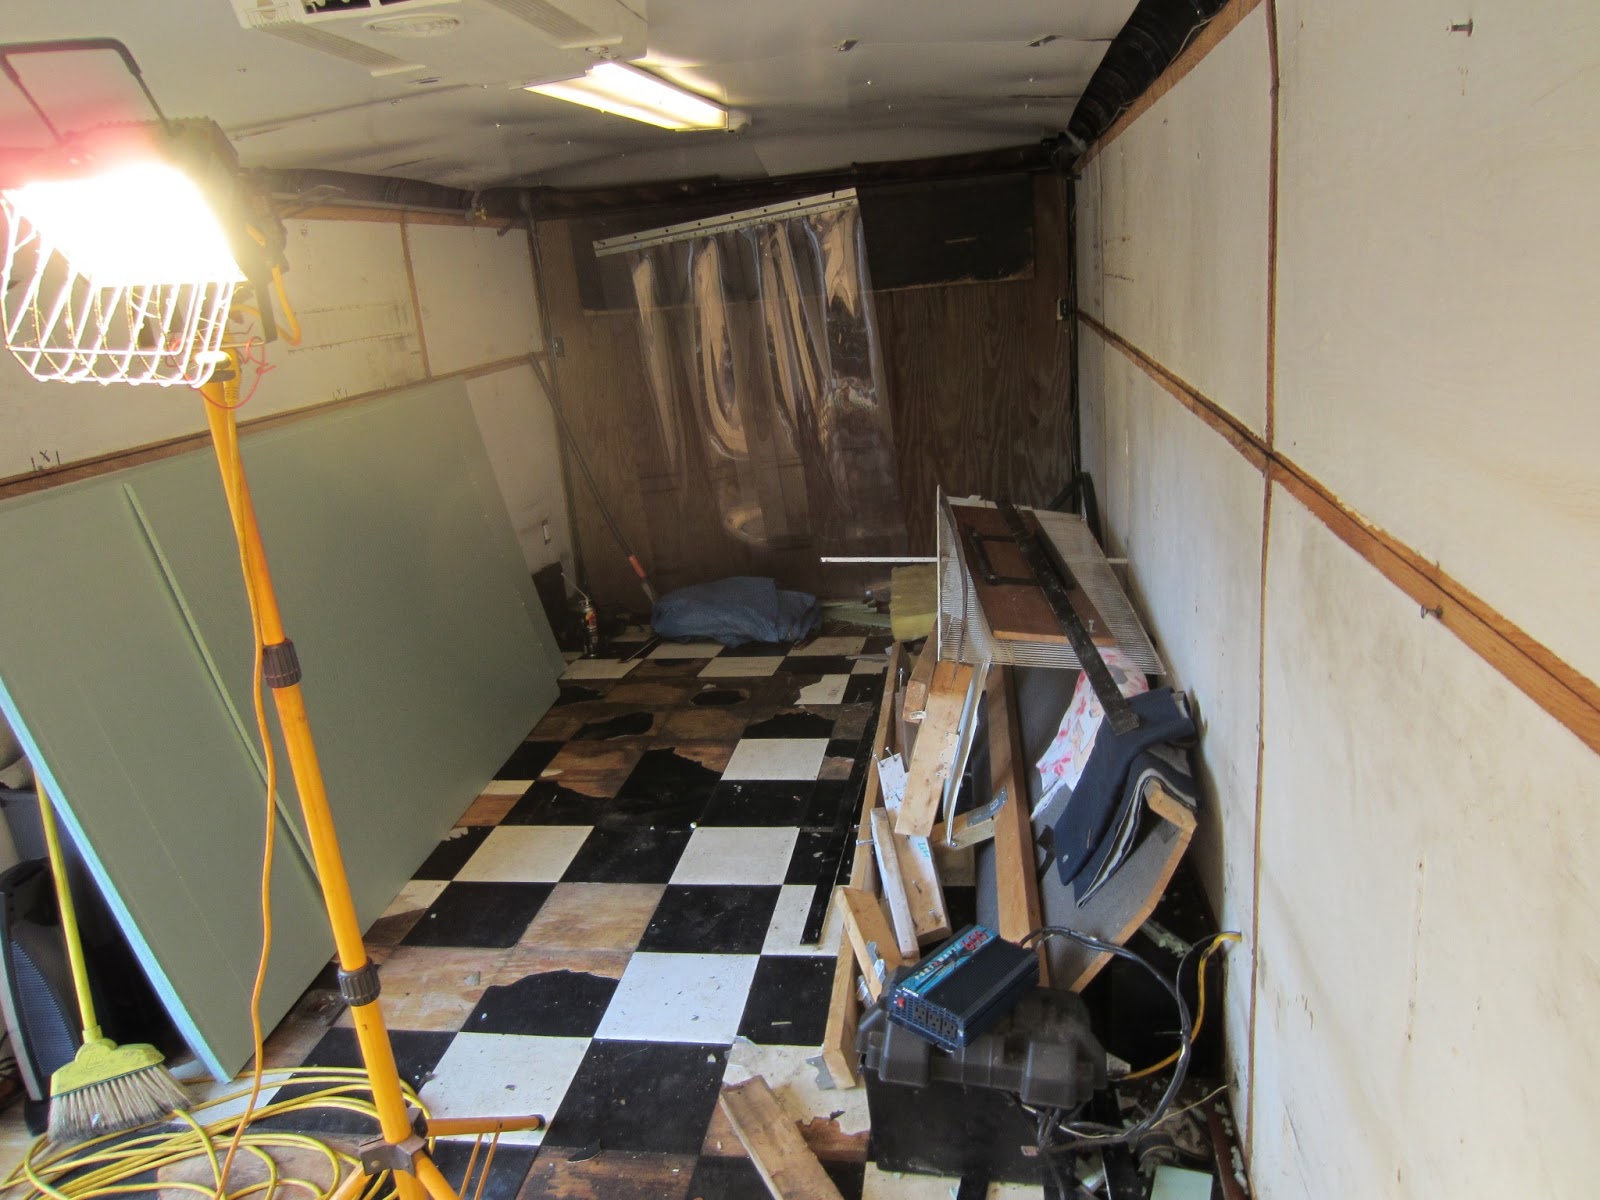
As bought, bare inside other than the checkboard floor tiles
 Since then it as evolved with layers upon layers of crap, useful crap to be sure, but not the pure minimalist shell it once was. A partial list of upgrades: 110v electric throughout, A/C unit, insulated roof, front shelf and bin rack, tire rack, N2 bottle and holder, misc holders, cabinets, racks, tiedowns, yada yada... It's seen a lot of use, trailering up and down I-95 to Sebring, all the way up to Mosport in Canada, and out to Mid Ohio and more. So just like the Comfort Inn does a periodic renovation, it was time for mine.


The first item of business was some more insulation, the walls in particular. The roof was insulated several years ago and it helped immensely with the summer heat. The top of the trailer is just a sheet of aluminum and  with Summit Point or VIR summer heat beating down on it, it turned into a convection oven. It would be 95 degrees outside and inside with the A/C going full blast, it still would be 80-85 degrees. Insulating the roof fixed that. But those nights at the Glen in early May, or at NJMP in late October it would be a bit chilly inside. There's nothing but some thin plywood and an aluminum sheet between me and the elements. So off to Home Depot for some foam insulation sheets. Lightweight and easy to handle, they should help. But to install ... everything needs to come apart. All the upgrades, anything screwed or bolted to the wall. Think of it as a to-the-frame restoration. This will also give me a chance to fix, repair, clean, touch up all the stuff that's normally neglected.


Yes, everything needs to come out. Going to the bare frame.


One panel done, all the rest to follow.

The foam panels are cut and glued with Liquid Nails to the back of the thin plywood interior walls.


GFI Electrical outlets replaced, and resealed as needed.

Made it to the front part of the trailer.

A look back at the debris from the all the front racks, shelves, etc.

Inside nose
I took advantage of the bared frame to wire brush the ribs that were showing surface rust and paint them with Rustoleum. I also strategically applied expanding foam to various air gaps like in the corner.

Another major time sink/project is the replacement of the tiled floor. The checked flag pattern was cool looking, but it just didn't hold up to the sustained use. Oil leaks, broken cars and hot tires have taken their toll. These were peel and stick tiles which often didn't want to stick. The pattern was discontinued and required a fair amount of maintenance. They were heavy to boot. Getting rid of them will get me back 75 lbs. The plan is to use an epoxy based floor paint, like a garage floor paint. It should wear well and be easy to keep clean. But first, the old tiles must come up. Nothing for it, but some good old fashion manual labor here. Just me, my creaky knees, a heat gun and a scraper and hours of fun. Once the tiles are up I'll still have to remove the left behind adhesive. Being an ice climber has made me fairly pain tolerant, that's coming in handy here.

De-tiling in process


So that's as it stands so far at the beginning of March. Most of the walls are insulated and re-hung. About 80% of the tiles are up. Next tasks are to finish removing the tiles and prep the floor. Paint the walls, redo the trim and paint. Epoxy the floor. Rebuild the front storage area with a rack system and then start adding the misc little holders, helmet rack, shelves, etc.

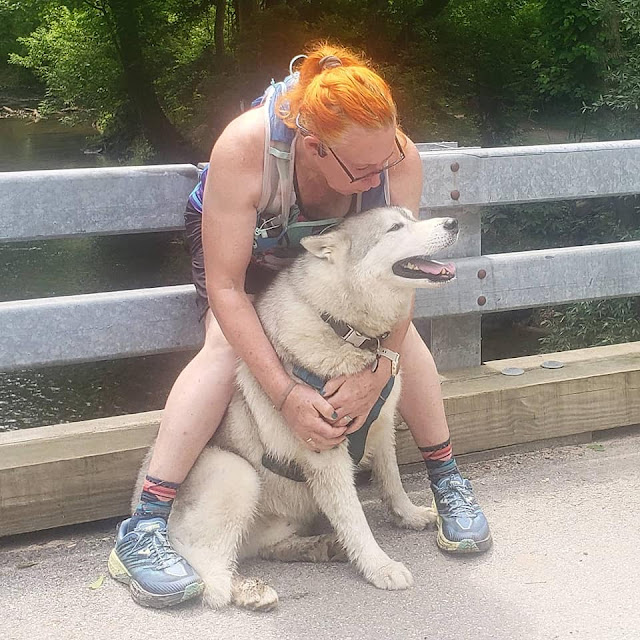
Here's my helper husky Ziva. She looks peeved because I think her butt's stuck to the leftover tile adhesive.


Friday, February 22, 2013

Friday Video: BMW Design Head talks about design

Today's treat is a nice little (7 min) video of the current head of BMW Design, Karim Habib as he talks about his work and design in general. Interestingly, the car he drives is an Inka Orange 2002 Tii (shown driving in the film around Munich). That car still has a hold on the core of BMW. Nice to know.


Wednesday, February 20, 2013

Visiblity mod

As part of the '02 restoration, I replaced the US spec frog eyes front turn signals with Euro turn signals. Not only do they look way cooler, the car is an Euro model so it's only returning back to stock.

Flat European turn signals
Bulbous US spec lights

One advantage - probably the only - is the US spec turn signals have an extra bulb that lights up - aka parking lights. The Euro ones only have a single bulb, so at night there's only light when the turn signal is activated.

Somebody on the BMW2002FAQ forum came up with a nice mod to add the missing functionality. Start off with a GM right angle license plate socket (Dorman #85868) that I picked up at the local AutoZone.

I told the car the GM stands for Generalisimo Motors ...

With a step drill, I drilled an 11/16 hole and mounted the socket to the light bracket.


Since the lights are grounded to the body, I drilled a small hole and mounted the ground lead from the socket with a sheet metal screw.


** Cool Tool Alert ***

While I was in the middle of this mod, I got my Klein Journeyman Crimping Pliers. For years I been using those cheap yellow stamped steel electrical connector crimpers that everybody has. I've never been real happy with their use. It's a crappy tool. While doing the front fog light install, I added a couple of relays and did a fair amount of electrical wiring. In the middle of it I said enough! I'm done with crappy crimps and off to Amazon.com. Well it's finally here, and it's great tool. Expensive ($30) but worth it. Easy, and ergonomic to use and does solid crimps, one after another. Recommended.

Cheap shitty crimping tool


Klien Crimping Pliers - awesome!

And now back to our regularly scheduled blathering ....

Here's the final result:


My (Premature) Obiturary

Lots of news organizations maintain pre-written obits so that when a celebrity passes, they open up the file and need to just update a few l...