Saturday, February 28, 2026

Alpine Climbing

Alpine Climbing is the face of climbing where multiple climbing disciplines intersect: Rock; Ice; Snow; Glacier Travel and sometimes all four at once! Usually practiced in the high mountain areas of the world, a typical alpine climb involves hiking into the snow region; traversing over glaciers (watch out for those crevasses) to the base of a rock wall or ridge; onto the ridge to the summit, climbing rock, ice and occasionally the hanging glacier. Sometimes the route is mainly snow and ice; other times a short walk on snow and the rest is rock. Whatever the combination, its always challenging and fun.


Coleman Glacier, 7000 ft, Mt. Baker

Here my climbing party is ascending the Coleman Glacier on Mt. Baker in the Cascade Mtns in Washington State. We're planning to climb up to the rocks bands, stay to the left, but not too far (must avoid the huge crevassed area in the middle), curl around left to under the main face, do an ascending traverse right on the hidden glacier behind the last rock outcropping to intersect with the ridge line and left up the ridge to the summit. While it doesn't look that far (or big), we're at about 7000 ft of elevation and the summit is around 10,800. So we have about 3800 feet of elevation to gain (about 2/3 of a mile). The heavily crevassed area in the middle is an hour's climb away. Notice all three of us are roped together. That's in case someone, usually the heaviest  :) pops through a hidden crevasse.

Mt Baker is an semi-extinct volcano near the Canadian border, part of the volcano grouping on the Pacific Rim of Fire; including Mt. Rainier, Mt Adams and Mt. St Helens. I say semi-extinct, but really it should be dormant as there is still volcanic action in the summit crater, steaming fumaroles, etc. Now I can't personally can't vouch for that fact since I've never made it to the summit. So far my mountaineering buddy Rick Sands and I are 0 for 3 in our attempts on Mt. Baker. My first time up, I was snug in my sleeping bag in my tent. Our camp was high on the glacier, set for a 4am start. About 1am a major storm moved in and huge gusts of wind started battering the tent.. After about 2 hours, the tent had enough and just disintegrated, leaving us high and exposed. We fought our way down and off the glacier and into the woods. And that was that.

On another attempt, Rick's summit bid ended when the case of giardia he contracted on the mountain left him too weak to attempt the summit. This was the beginning of a 3 week climbing trip in the Western US for both of us and for those of you familiar with the side effects of giardia will recognize that the next few weeks together in small tents and rental cars were, shall we say, breathtaking...

Summit Bid 3 got off to a great start. Beautiful weather, excellent conditions, and I was probably in my best shape ever. But inside my left knee was ticking timebomb. High on the mountain, about 5am, after about the 17,000th kick into the ice slope, the little cartilage disks blew apart, halting my upward progress. Luckily I had the presence of mind to "ice the joint" which I did by collapsing onto the glacier So, Mt Baker 3, the Alpine team 0. But as Arnold said "I'll be back!"

(spoiler alert: She wasn't back)

Coleman Glacier, 8500 ft, Mt. Backer


Much Higher up on the Coleman Glacier. A few minutes before, a flock of giant goldfinches descended on us. Quite un-expected at 9000 feet in a vast wasteland of ice. However a closer look at the glacier surface revealed lots of little bugs, flies, butterflies, etc frozen to death on the ice surface. Prevailing winds carry the bugs up from the lowlands to where they're deposited on the surface. So no wonder the goldfinches looked huge, they've been dining on the local equivalent of the Howard Johnson's "All You Can Eat" breakfast buffet.

Crevasse Rescue Practice


Hopefully, when you're ascending into the realm of the mountain gods, you won't do something stupid like fall into an open exposed crevasse. However, not all crevasses cooperate by being visible. You could be hiking up a glacier on nice firm snow thinking about the wonderful freeze dried food you'll have for dinner, when in reality that nice firm snow is really a 1 foot snow bridge over a 100 feet deep ice cavern. Snow is remarkably strong stuff, but you reach a point where it can't support a climber carrying a large pack filled with freeze dried food. (which brings to mind my 3 rules of glacier travel:
  1. Always rope up
  2. Don't fall in
  3. Always put the heaviest climber first (corollary rule: always climb with somebody heavier than you), so if they step on it and don't fall in, it's probably safe
In  case you violate rule 2, it's advisable to know how to get out by yourself, since helicopter rescue is expensive, embarrassing and only really happens in the movies.. 

To practice the rescue techniques, go find a nice big (visible) crevasse, set some anchors and throw yourself over the edge (and hope the anchors hold). Chances are now you are upside down since you're carrying that big pack filled with freeze dried food and it's pulling you down. 1st step is to dump the pack (not literally, since that IS dinner) Grab a sling, clip one end to your harness (kids, this should already been done before you went walking on the glacier) and the other end to the pack. Slip the straps off your shoulders. Wow what a relief! Of course now you're 50 feet down in the largest Kenmore freezer ever built, slowly spinning at the end of  the rope at 10 rpm., listening to the derisive hoots from the other (lighter) members of the party with a 50lb pack dangling below you. But at least you're right side up. Pop out your two Prussik slings (cords wrapped around the climbing rope with a slip/friction knot) that were discretely tucked into your clothing. Struggle to put the bottom part of the sling over one boot and crampon and proceed to the "Texas Two Step" This is where you kick one boot high in the air, take the friction knot attached to the rope for that foot and slide it as high as you can reach. Next stand up on the stirrup in the now higher sling. This removes the weight from the other friction knot whose other end is attached to your waist. Repeat until tired.

In fact this is an exercise that is sure to become popular at the gyms. When at the gym, don't forget the 10 lb boots  and crampons, the several layers of soggy clothing, the sharp pointy objects  (hopefully)  attached to your waist, the 50 lb pack dangling a few feet below you and oh yes for true authenticity, a trickle of ice water down the back of the neck and fogged up sunglasses... 

Once you ascended the rope to the top of the crevasse, you discover an very unpleasant fact: Usually the weight of falling climber (and all that freeze dried food) causes the rope to saw into the lip of the crevasse, burying it several feet deep. Which creates a problem. You can't move the prussik knots up the rope while it is buried into the lip and you can't move the rope out of the slot because your weight is on the rope. Now you become happy that the sharp objects (ice axes) attached to you remained attached to you. Usually you have to ice climb the last few feet to pop over the top. Of course this is also very strenuous. The last time we practiced this, my partner pulled his shoulder trying to come over the top and became stuck, resulting in his rescue from the crevasse rescue practice


* original post 1998

Monday, November 11, 2024

Das Maus (5) - Baby got Back


Rear subframe in all its glory. 
Hana Demon Dog is the shop supervisor

When we last checked in with our heroine, we had refreshed/restored the front end including the motor. If I could chop the car in half, we would win Cars & Coffee. Unfortunately, Solomon withstanding, life don't work like that. So onto the rear!

As I mentioned earlier, this is a 1972 Mini, so it doesn't have a unibody. What holds the body shell up is two subframes, one in front and one in back. This is a British car and I think they used wooden rulers for measurements to put the motor together. The front subframe, while nasty, was actually structurally sound and cleaned up pretty well, albeit with a lot of work. It had the benefit of 50 years of oil leaks coating everything up front. The rear subframe .... not so much.

Besides the potential horrors of the rear subframe, there were other issues. Among them the battery box which hangs down below the boot (trunk for you Yankees). Yeah, a bunch of rusty spots, which gave me an excuse to go by a new Welder. 

Front of the battery box. Rear had issues too.

I took my needler and chipped off most of the undercoating to see what nasties lay underneath. Though there were a few spots that I ended up patching, it wasn't crazy bad.

Going at it with my power needler
 

Cutting, welding and grinding the battery box

Before we get to the guesome Rated R portion of the post, here's the bottom of the car all welded up and coated with Eastwood rust preventive paint.


Okay, I've put this off long enough. Time to show the subframe 'as found". Please have your children leave the room, put the dog outside, and make sure you are up to date on your tetnus shot.


Don't quote me on this, but
I don't think that's structurally sound.

Not pretty. Most of the captive nuts were totally rusted and seized

Pretty much all the bits attached to the rear subframe were toast also.

Trailing arm with drum brake. The rear
suspension - aka cone and trumpet

The rear brakes have seen better days

Well, in for a pence (penny), in for a £ (pound ). I bought a new subframe from MiniSpares, one of the big Mini parts distributors in the UK. Shipping was almost as much as the subframe, but had to be done. The trash folks hauled it off to the dump last week.

New, and powder coated. This soothes my heart.

Meanwhile while waiting, I worked on some other areas. 

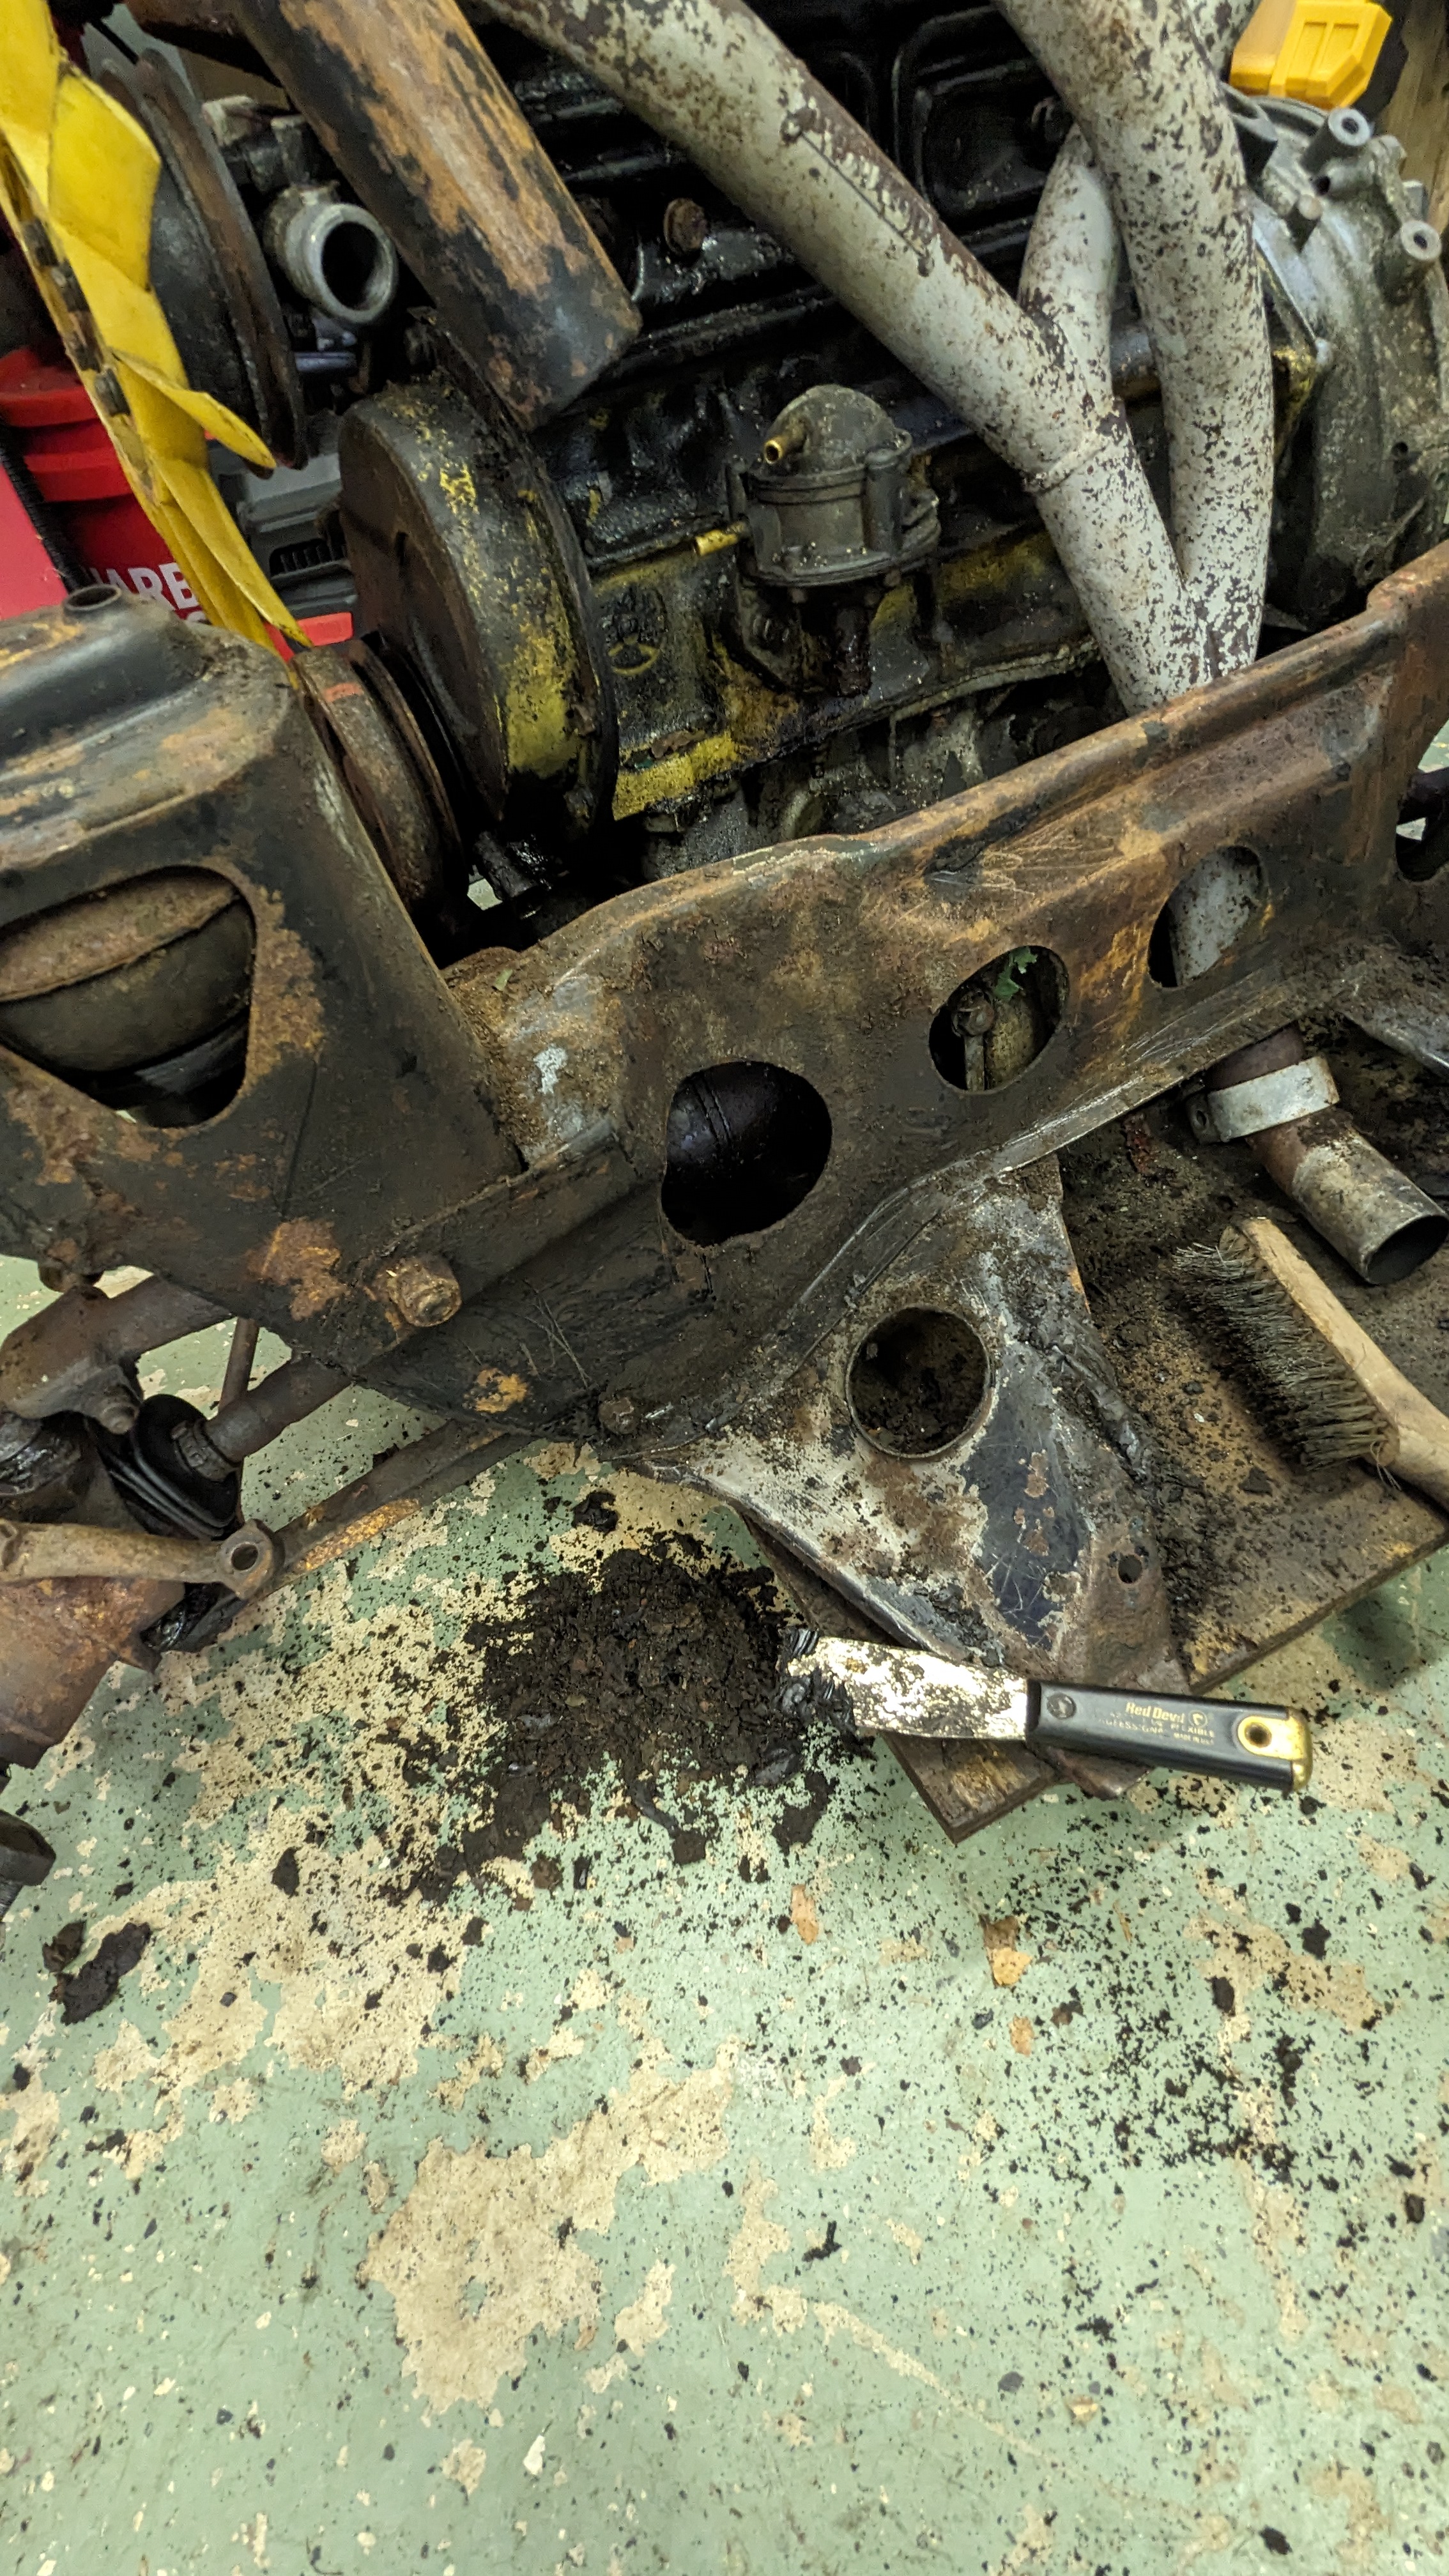
The boot got the wire brush treatment

And cleaned up and painted.


Gas tank, removed, rust and coating needled off
and painted.


Well this saga has gone on long enough. There's more (lots) to come, but here's a glimpse of the next bit.


Adios!


Saturday, July 13, 2024

Das Maus (4) - A Reverse Lumpectomy

 When we last left off, I had finished the subframe. Pretty much everything was replaced: a gazillion ball joints; adjustable control arms, rubber cones and the like. All in all, it was now a thing of beauty.

A lot of work since then and a significant milestone was reached, so time to update the story.

To give you a taste of where we came from, here's some beauty shots.

Subframe with various suspension bits - make sure you have an up to date tetanus shot!


Subframe and motor in all its glory

And as you can see, the motor also needed a large dose of TLC.

That's one bucket of rust there. But it ran and had good compression


New cones vs Old cones


After many hours of labor, I ended up with a clean and refreshed subframe and bits. Looking ready to go back in.


Rated R: Naked Subframe and naughty bits

While waiting for some parts from the UK to finish the subframe, I started work on the motor.

The first order of business was to give the motor a good wash with industrial degreaser. Outside of course.

Surprise! It's not rust colored, but yellow

The head was pulled and sent off to the machine shop for inspection.


The block was then painted with Eastwood engine paint, Austin Mini green


The transmission was painted with an aluminum primer, then with Seymour Alumi-Blast.


Received the final bits, and it was time to put the subframe back - minus the motor at this point.

I should mention that I'm retired, so I tend to work on the car during the day when all my friends and neighbors are out selling their souls from 9 to 5 for our AI Overlords. That means it's just me in the shop without help. Luckily I have a lift in my garage, and I've been a racer for over 20 years. That means I'm real good at McGuyering things  and coming up with creative ways to complete tasks. Nothing like having an off and then having 30 minutes to fix the issues and get the car back to the grid for the next race to focus your mind.


Operation Subframe Installation underway

And just to make it more fun, we're in the middle of a heat wave here in the US, and the garage is about 85 degrees and 80% humidity. No A/C here, just a big fan. I was sweating bullets.

The thing about old cars - this one's 51 years old - nothing lines up properly. Now 50 years, on the assembly line, it was probably closer, but then again, the Brits aren't known for close tolerances on their mechanical bits. They are notorious for leaking oil. On the plus side, that was unintended rust proofing up front. 

So old cars ... I managed to get the subframe in, but the experience was very frustrating. I had to stop after a few hours after I ran out of expletives and had to order some new ones from Amazon. After a nice break I came back and finished it off.

Subframe in and bolted down. I can stop now right?

Ah yes, I see we're missing a motor. Let's go bug the machine shop for my head.

It's back. Only 2 weeks, that's lightening fast for a machine shop. I have always found that when they ask, "When do you need this back?"  Lie, just lie. Otherwise they won't start working on it until 2 days before you want it.

Let's finish up this motor. First some of that Eastwood engine paint. Gotta look good for Cars & Coffee.


The machine shop reported that the head had been worked on before in the past and looked good. The valve springs were binding though and he removed some shims and got it back into spec. He also reskimmed the surface.

The head studs were replaced with new ARP studs.


Jim also reported that the rocker shaft needed to be replaced. I sourced a new one and replaced the rockers.


The gaps were set with the rockers and other than waiting on a new distributor, the lump was good to go back in. 

Setting the rocker gap


I had bought a new A series distributor from MiniSpares but when I went to put it in, it didn't fit. It was too long. Talking with MiniSpares it was determined I had a 998cc A+ series motor, not the A motor I thought. Which was a surprise to me. It's actually a good thing. The A+ motors were built stronger, wiht a hotter crank and some other performance items. It was said a good 998 A+ motor could make a whopping 62 hp stock. A correct distributor was re-ordered.

The cherry picker was pressed into service and the motor was elevated and put into place. <-- a nice short, simple sentence when the reality was it took several hours and a lot of verbal lubrication, all done in the oven of my garage (the heat wave is still ongoing).

Slowly, step by step. Up with the lift, down with hoist. Repeat 
until your life has no meaning.


And finally Success!!! 


The Lumpectomy has been reversed!

Are we done now? Hell no. My punch list is continually growing. But this is a significant milestone. We went from a nasty, ratty looking engine compartment and motor to one I wouldn't be ashamed of bring home to my mother. 

More to come!

Monday, June 10, 2024

Das Maus (3) - Subframe Beauty Journey

It's a dirty job, but somebody has to do it.

Time for another update on the Maus project. When we last were here, I was a happy camper. The front subframe, complete with motor, had been extracted from the car, the motor detached and moved to an out of the way location for future attention. First order of business was to turn that dirty, filthy, greasy, smudgey and ugly subframe into a naked subframe. Once that's done I can get an OnlyFans account for it.

I removed the various bits such as stabilizer bars, cones, trumpets, axles and more, until I was left with just the subframe. Hours were spent hammering, wire-wheeling, scraping all the smudge and junk off the frame. Until I ended up with this.

Shiny, clean subframe - getting a nice degreasing bath

While this was taking place, all those bits I pulled off were treated to a through inspection. If deemed worthy, it was cleaned up, refreshed and painted, otherwise, replaced. 

Audience warning - we're exiting the main narrative and heading down a just noticed path into the dark and scary woods. Don't worry, it's short.

- Digression begins -

I've lived too long in the Porsche/BMW/Subaru universe and this has warped my monetary sense. The old joke goes: You have a Porsche Racecar. What part of Porsche or Racecar means cheap, inexpensive or economical? Porsche parts especially are hugely expensive. Which is why during my racing career I would often purchase what we would call, parts cars. These are vehicles that were involved in an accident; blew the motor or somehow were just done and had to go. Trashed interior, I don't care. Rear end crashed and totaled, but the motor is good. Yes, please.  I would buy them from $500 to $1500 and stash them in my back yard. There, they would be immediately be claimed by the huskies as their property. 

Get hit in a race and need a new door? Don't get a new one from the dealer - if they would even sell one to you for a 80's car, or even from a junkyard. I'd just stroll out to the backyard and pull it off one of the parts car. Instant savings. Sometimes parts are just No Longer Available (NLA). This is common for vintage vehicles. Often I could pull the part from the parts cars.

When racing, reliability is key. You can't finish first if you don't finish. This means for critical parts like an Air Flow Meter (AFM), a part from that 100K miles Porsche 944 with unknown history just doesn't cut it. Time to go buy new. A new or refurbed water pump will set you back from $150-300. Some parts are thousands of dollars. It's crazy and super expensive with these cars.

I'm working on the motor at the moment, updates in a future post. I needed some new parts. While putting the part in my basket, the website showed me "What others have bought".  I had pulled off the water pump, inspected it and other from some internal corrosion, and decided to go with it. The website showed me a brand new upgraded (higher water flow) for $20. Only $20? For a brand new pump? Hell yes! I clicked and added it to my basket. 

And even though I'm buying a fair amount of new parts and shipping them from the UK. The pricing is an order of magnitude less than comparable Porsche parts.

- Digression ends -

Starting all the way from the bottom

Once I had a clean and degreased subframe, it was time for some rust protection. I applied 2 coats of Eastwood Rust encapsulating paint as the base.


Starting with the newly painted subframe, it was time to build it back up. That mean going though all the parts that was taken off and doing the clean/inspect/keep or throw away routines. Above is one of the drive axles, cv joint, hub carrier and drive hub. While the hub carrier (middle bit) is okay, it has two ball joints and they gotta go. CV joints need to be inspected and the boots replaced. I replaced the drive hub even though it was good because: 1) it was cheap (see digression above) and 2) the new part was all shiny and you'll see it as soon as you take off the wheel, and I'm all about the bling.

There was a lot of multi-tasking going on. Often I was waiting for a part or two before I can move forward with a section - no next-day air delivery for parts from the UK. I would then move off to another place and work on that. A good example would be the engine compartment. Like the subframe and motor, it was rusty, greasy and looked like you needed a hazmat suit to work on it. 

Speaking of a HazMat suit ...

Here's an example of the brake and clutch master cylinder area. Note under all the grime, the car was originally painted blue. I also have found red paint on the subframe. The Maus has had an interesting life.

Pretty scuzzy looking right?

Suffice to say, lots of bits didn't come easy. I had to resort to my bag of mechanic tricks. Pretty much every fastener was rusty. Most of them will be replaced with new. New ball joints everywhere were installed. On the carrier hub, this was a particular PITA. They need to have a certain amount of pre-load. This is accomplished with shims. The work goes: put in a shim or two. Put the ball in the cup, lock it down and torque it to 75 ft/lbs. Test the drag. Too loose? add another shim. Too tight, remove a shim. That's the theory anyway. The 4 ball joints took over 3 hours to get them "just right".

The ball joint on the control arm on one side defeated me. BFH (Big Fucking Hammer), MAPP gas torch, Sawzall, just nothing worked. It wouldn't come out. That meant the control arms were abandoned and new (camber-adjustable) arms bought.


Packing the CV joint is a hands-on job

CV Joints were disassembled and examined. They looked great. I replaced the boots and repacked them. 

Old and new front suspension cones

The original design of the Mini was pretty unique. They used rubber cones for the suspension. Eventually over time these get compressed and the suspension gets compromized. I bought new ones from the UK. The old ones are in front and you can see they are pretty much used up compared to the new ones.

finished subframe with lots of new parts - upside down view

Eventually, probably because I don't have a job to go to anymore, the subframe was finished. It's just waiting to go back into the car. That means I have to finish up the engine compartment refresh - still a work in progress. I'm also working on the motor. The head has been pulled and it's off to the machine shop, where in all likelihood, will sit for several months. Fingers crossed it will be sooner.

And with that, we come to the end of the post. Hopefully if you have read my other posts, you came prepared in case you doze off: All hard objects removed from your area; soft pillow to cushion your head when it crashes into the desk. In any case, the management accepts no responsibility for any injuries occurred. 

I'll leave you with a taste of a future installment.


Sunday, May 5, 2024

Das Maus (2) - Phase 1 complete


Other than making zoom-zoom noises
I'm a pretty useless motor

When we last left off, I was young, full of unwarranted optimism, eager to begin my journey into the mysteries of British motoring. My hands were clean, without cuts looking for errant sprays of carb cleaner. My fingernails were suitable for polite company. So lets visit where we are and how we got here.

My original plan was to do a quick brake refresh. New pads, probably rotors and flush the system.  Stainless steel brake lines to replace the 15+ year old rubber ones. Do just enough to get the car safe to drive and the restoration could proceed at a moderate and lazy pace over the next months or years.

You know what they say about plans, right? The military types say "Plans never survive first contact with the enemy." I prefer "When mortals make plans, the Gods laugh".

Top of the brake line coming from the caliper

Hear that snickering? That's the Gods laughing. First order of business was replacing the rubber brake lines with the stainless steel ones. 15 minute job on each side right? I've done it with the '70 2002, the 944 race car, easy-peasy. The brake line unscrewed from the caliper with no issue. Here's where it gets weird.

Notice the little hole up on the left?

The other end of the line goes through the subframe. It has nuts on both sides of the frame. Up top, another steel brake line screws into the top of the caliper line and goes around the subframe to the other brake junction and then to the master cylinder. To remove it, put a wrench on the bottom nut and then, through the little access hole and put a wrench on the top nut. I had to buy a new wrench as the top nut is a weird 15/16ths size.

I had to get the top nut at an angle as the cut out in the frame wasn't flush with the frame rail. Did I mention that everything on the Maus is crammed together so you can't really see what you're doing? Everything is done by braille.

I'm wrenching away, waiting for that "crack" when you get a clean break on a fastener. Instead I got that sickening feeling when things kept turning with resistance but not the "right" resistance. Every mechanic knows that existential dread when you just know a bolt is going to snap off and put you in a world of hurt.

And snap it did! (Gods are fully belly laughing now). The top steel brake line just snapped and broke. And with that my "plan" was now officially gone to shit. 

I'm a (retired) engineer. My mantra has always been "Analyze; Improvise & Adapt; Execute" and repeat if needed. Welp, I know what I doing next. Subframe with the motor is coming out. Yeah that was months down the road, but here we are.

Chassis support 4x4 - $10 at Lowes, $175 at Mini Specialty shops

As I'm finding out, Mini's are different. There are two subframes, back and front, that are the structural parts of the car. When I pull the subframe I need to support the car, otherwise it will fold in half. A 4x4 from the local hardware store does the trick. I had to cut out a section for the exhaust as I left that on the car.

 I chose to drop the subframe with the motor attached and then pull the motor (not 'Yank' it as my Brit friends corrected me) later. I had my reasons which aren't really important here.

This happened over a period of a week. Lots of that was disconnecting a lot of wires, bolts, nuts and running to Harbor Freight for another SAE wrench - I had only metric tools before the Maus. 

The "Rhythm of Repair" for me: Apply a liberal amount of a Rust Penetrating fluid to the object, and then go away for a few hours. Apply wrench, still stuck, apply more penetrating fluid, repeat. Occasionally smacking it with a hammer and sometimes some heat. Eventually I win and it comes loose.

Subframe and motor are leaving the building

Lowering the assembly fought me tooth and nail. There was always something hanging up or catching. The final piece was a power cable that was threaded though the subframe. It was black and covered in the grease and smudge that covered the bottom of the car and cleverly hidden. There were two brackets screwing it to the underneath of the subframe. The screws were totally rusted and impossible to get to. I spent a long 15 minutes on my back, with my hands deep in the guts - that whole braille thing - working on the brackets. I had to wiggle the brackets back and forth until they eventually broke and I could free the cable. I could have done without that bit.

Subframe and power lump 

Finally it was done and the next phase could begin. Cleaning the years of smudge, grease, oil, horsehair, lunar rocks and Waldo from various bits.

And it starts. Scrappers and chisels are on the job.

Various bits are refreshed as they come off

As I said, the next phase is cleaning and refurbing the subframe. That means the motor needs to be removed. I borrowed a engine hoist from a neighbor and pulled it.

And up into the air it goes

Motor parked for later ...

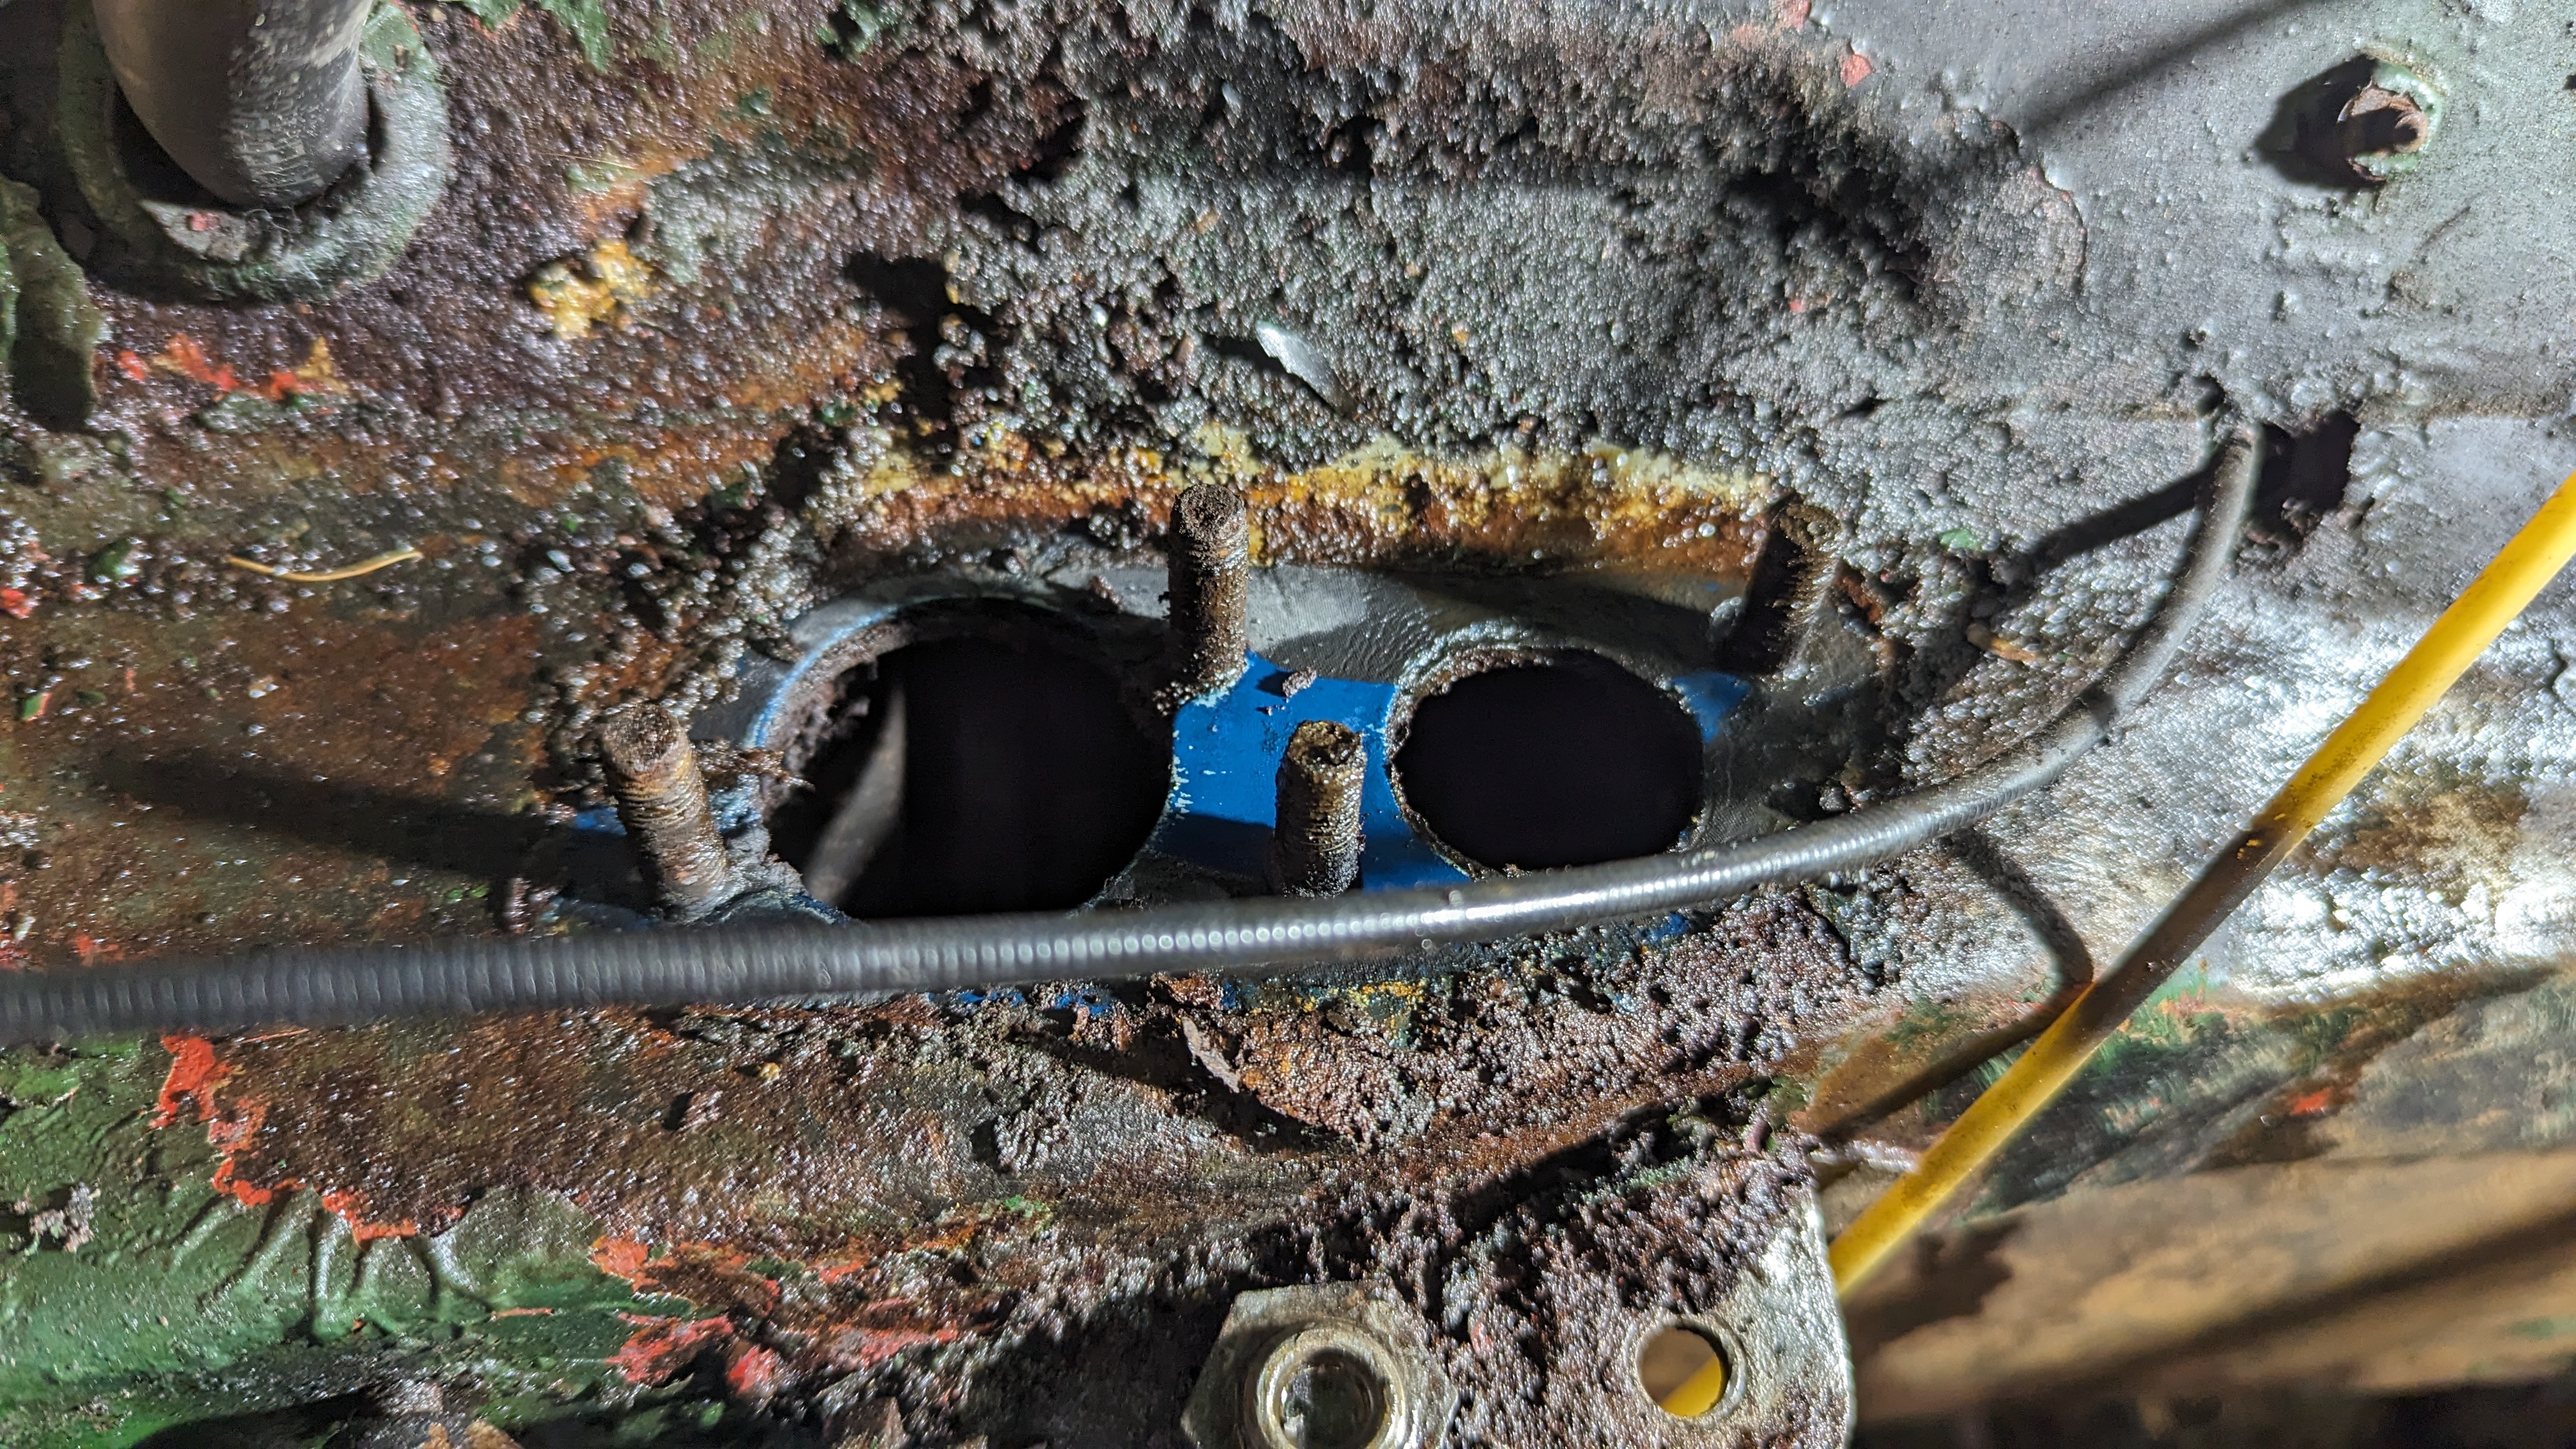
Lots of rust remediation here.
Luckily it all seems to be surface rust.

And now here we are. The subframe is on my temp work bench. Smudge removal, ball joints to be replaced, new bushings, hubs, brake rotors and more. In a month's time this will look quite different.

The bottom of the subframe. Lots of work ahead!

So I'm not so young and innocent anymore. My deep black hair has turned orange because of the frustrations encountered. My hands cringe when they see a can of carb cleaner. But I'm committed, or should be. The Maus isn't going anywhere soon. While it may not look like it, this is fun for me. I blame being dropped on my head when young. but I'm going with it. Stayed tuned!


My (Premature) Obiturary

Lots of news organizations maintain pre-written obits so that when a celebrity passes, they open up the file and need to just update a few l...