Showing posts with label garage. Show all posts

Sunday, November 25, 2012

It's Alive!


When last seen, the Bimmer has the motor in place and all the wiring and hoses connected. The last thing to do was finish up the clutch bits. While it seemed to go reasonably well, there was a snag at the end. The clutch fork which the clutch slave cylinder pushes, causing the lever to push the clutch plate just didn't feel right to me. I fiddled and farted with it and was reluctantly coming to the decision that I would have to pull the tranny to find out what was wrong. One step forward, and 2 back. *sigh*

Slave cylinder (round bit on left) and the clutch fork (black lever going into the tranny on right)
A lot of forum reading and poring over poor quality transmission diagrams - it is a 40 year old car after all - and I thought I would give it one last shot. Though a combo of flexible mirrors and precariously perched lights I found the spring lever for the fork had come loose and was out of alignment causing my issue. A bit of fiddly blind work had it back in place and with a bleed of the system, I had a working clutch.

Time to work on the 944 and go racing for the next month or two.

And now I'm back. 

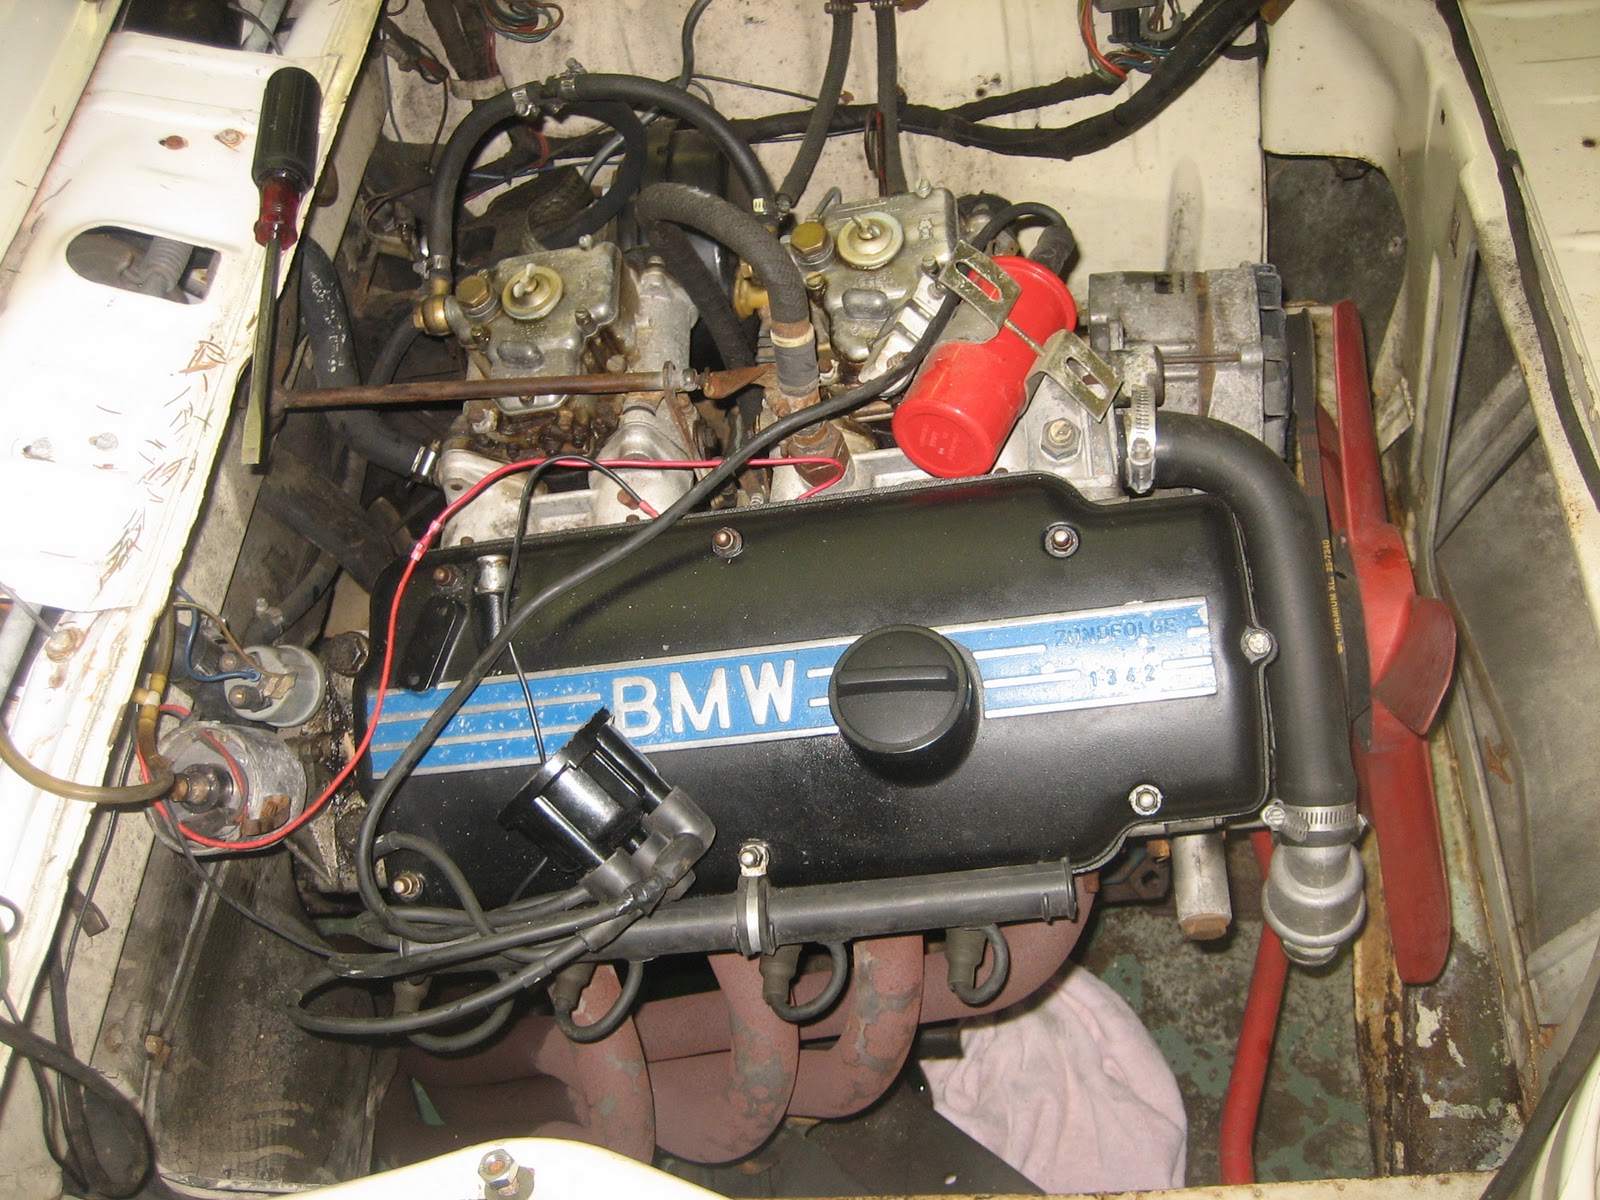
So for the month of November I've been trying to get the 2002 motor running. It got pulled way back in January for the repaint. The motor was cleaned up and painted, new rod bearings installed, new water pump, new exhaust studs, new hoses, new starter, new gaskets everywhere while waiting for the paint shop to return the car. By April I had the car back from the shop and began the 6 month process of putting it all back together again. With some breaks for 944 Cup racing, the car was mostly done and ready to get back on the street again. 

If it would only start ...

With suspension and wheels, it can be pushed around at least.


Did the usual checks. A running motor needs 3 things: air, fuel and spark, hopefully all delivered at the right time. Timing light showed I had spark. Full fuel bowls showed I was getting fuel. And air wasn't a problem, so what? Timing?

I pulled the valve cover and manually rotated the crank until the rockers were aligned correctly and I was sure I had TDC on cylinder #1. I made sure the distributor was pointing in the correct location and not 180 degrees out of phase. The timing may not be spot on, but it should be close enough to start. Hmmm.....

Eventually the path of deduction led to the Weber carbs. I had all the correct ingredients, but nothing was cooking. Gas was making it into the carbs, but was it making it out into the intake? A trip to Pep Boys and a can of starter fluid - kids ask your parents - answered that question. A couple of squirts down the carb throats and with a turn of the key, the engine fired up. It didn't sound healthy, but in truth, a diet of starter fluid isn't what it was tuned for. So it's the carbs.

Off with the carbs. Time to dig into them.

A long time ago, actually in February, I 'rebuilt' the Webers.

In all its greasy, clogged glory.

And as cleaned up


What this meant was clean the outside and repaint, clean all the jets, replace all the gaskets. Kinda like a topend rebuild. Now it was time to get down and intimate with those Italian beauties.

This time I took out all the jets and flushed all the passages with carb cleaning making sure everything flowed where it should. Put it back together and back onto the car. BTW, when I say those 4 little words - back on the car - you should hear in your head 'another 30 minutes of work' - as they came off and on numerous times over the last several weeks. Just sayin'.

So back on the car, a couple of squirts of starter fluid, the turn of the key and Vroom!!!! it's working! Hey wait a minute, it's idling at 4000 rpm. Shit, turn it off! That can't be good for a brand new motor.

So for the next week, time was spent working the high idle problem. Turn the car on, and it would immediately go to 4-4500 rpm. I checked for vacuum leaks and more with no luck. Finally in the middle of one session, the motor screaming at 4500 rpm it just immediately died. Crap! What now? That's electrical, I know the sound of a fuel starved motor. Yup, no spark anymore. Back to square one. That led to several nights of electrical debugging, which was solved by fixing a loose wire on the ignition switch. Damn old cars.

With that fixed, I was back to the 4000 rpm idle motor. More reading, more thinking and Its got to be the throttle plates. Webers back off the car, more cleaning, hey the accelerator pump is stuck, hmm that could be keeping the throttle plate open. Fixed that and 'back on the car'. But before this, I marked the throttle lever and carb body with a red paint dot so I know when the throttle plates are really closed.

And wouldn't you know it. The throttle linkage that connected the dual carbs was out of alignment so when all snugged down, one carb's throttle was open instead of closed shut. Some close personal time with a vise and hammer "adjusted" the linkage so both were closed when they should be. And this is the result of that fine tuning.


Oh yeah, still more work ahead, but that's a major turning point. It's time to celebrate with a beer or two. I just bought some Samuel Smith's Chocolate Stouts and look! they're right here in the garage cooler. How convenient.

Tuesday, August 28, 2012

A nice surprise

After work I slipped down to the garage to work on the '02. I didn't feel like launching into a major activity like attaching the clutch slave or brake booster. But no worrry, there's still a thousand piddly little tasks to finish up.

I picked up a box from the attic with random parts, and there were the window wipers. Ok, a simple brainless task, let's put them on. One more thing off the checklist. But as I'm examining them, I notice specks of shiny color coming through the black. Hmmm... the original wiper arms for the early cars was chrome or stainless steel. It wasn't until the later car were they black. I wonder, if when they went for the turbo look, if somebody painted them?

Got my trusty can of carb cleaner and a rag and a few seconds of work showed me this.

hidden treasure

Yeah baby. I grabbed my can of acetone and a chemical mask and went to work. Here's the end result.


Awesome, they look great. That was totally unexpected.

Over the last weekend I made some good progess on some larger tasks.

The driveshaft was connected, so now the car can be pushed around. Very important as I'm still in race season and can't have my lift tied up.


Got the headers installed and connected to the exhaust. Added a E30 series heat shield between the plugs and header, a popular upgrade. Did plugs and wires and hung the coil.  Installed the radiator and started working on the water hoses.


Worked on running the wiring harness, and support pieces for the Weber throttle bits. Hooked up the fuel lines.


 Installed the H4's and custom brackets for the vintage Cibie driving lights.


POR15'd the brake booster in preparation. I had refinished it last year with Rustoleum enamel but it didn't hold up to the brake fluid. We'll see how the POR15 works out.


Lastly, but not least. Here's some trick upgrade parts that are soon to go in.


An new upgraded starter for a 5 series BMW. This is a bolt in upgrade. Just below that is a custom made stainless steel throttle rod fitted with heim joints. This will remove any slop in the stock throttle rod and looks trick in the process. Just below that is a flexible clutch slave fluid line. No great performance advantage, but working with the stock non-flexible line is a huge PITA. This is a major improvement.

So that's where I am so far. Being that I have no fixed date to finish, the project is right on track.

Monday, July 16, 2012

944 Heat Wave Update

While we in the East Coast have been baking in a heat wave, I haven't been idle. I've been toiling away in the garage, giant fan blowing and beer fridge just steps away. First some 44 updates.

Did I tell you how much I hate the paddock at VIR? I'm sure I did, but just in case, it can't hurt to repeat: I hate the paddock at VIR! There, I feel better. I think I would rather bake in the reflector oven in the summer than deal wilth the sand. Case in point, my race tires:


As much as I tried to avoid the paddock sand, parked on the asphalt, waited for my tires to cool, they still picked up lbs of sand and embedded into my race tires. 15 minutes per tire of scraping and brushing got much of the sand and pebbles off, but they still will be like skating on glass the first couple of laps I use them.

Speaking of tires, I added a new gizmo to the cockpit: a tire pressure monitor system for racecars. While F1 cars have gazillon dollar thermal systems for analyzing the pressure and tire temps, my budget is a tad constrained. This was a 100 bucks system and gives me pressures every 5 seconds. It's accurate to 1/10ths so more accurate than my hand gauge.

Cockpit monitor

sensors take the place of stem caps.


Whether it gives me any competitive advantage remains to be seen. But if you don't try you'll never know.

Speaking of competitive advantages leads me to another segue way. Way back in the beginning of the season I had my motor dyno'd and broken in after the rebuild. One of the comments from John was it looked like my valves were floating a bit at the top end of the curve as my hp was dropping off pretty good. He said this is typically due to worn tappets or followers in the cam tower. Since list price of the tappets were $120 each and I needed 8 of them - not including any labor, I decided to wait and see how the season goes.

Well after watching Bob and Al walk me up the esses at VIR and seeing Steve motor on past on the long straight, I decided now is the time.

Camtower and tappets. You can see the worn area on the crowns.


A couple of hours in the garage, my mastercard groaning a bit more, and the new tappets were installed.


I finished my tech inspection - replacing a stuck rear caliper - and the car was ready for the next race at NJMP at the end of July. Time to turn my attention back to the 2002.


Monday, April 2, 2012

944 Pre-season Work

It was a rainy weekend, and the 44 was at the body shop so lets tackle some of my pre-season tasks on my to-do list.

I was bored with my purple rain wheels. All the fashion magazines say that "Bold Colors" are in this spring, so lets see what we can do.

Matte purple - so last year ...

I'm a big tool fan. After a tedious 5 minutes of sanding the wheel and getting nowhere fast, I looked around the garage at the work ahead.

And that's only a portion of the phone dial collection


 I switched to using my #1 tool, my brain. Mr. Brain said if tools are good, power tools are even better. A hunt around the garage and I dug up my Dremel tool and set to work.

In progress

Yeah, that worked out


An hour later I was applying the first of several coats of my favorite go-to wheel paint, Rustoleum enamel with a foam brush. No fancy paint booth or spray system here, this is down home garage work here. It goes on reasonably thick, lays and settles well and ends up looking pretty good. It's pretty tough and durable also, standing up to brake dust. I wouldn't put this on a Ferrari GTO if I happened to own one, but for a racecar, good stuff.

White wheels? for racing? are you crazy? You don't even wash your racecar,
you just paint over the bugs. How are you going to keep these clean?


Meanwhile the 944 came back from the body shop, looking a little better than it went in. They fixed the crunched rear panel where Chris L and I came together in the Nationals. That was the only panel that hadn't been hit on the car. Almost made me cry when it happened. Charlie and the boys made the hood and fender flush. They also fixed the rear quarter, mudded it up and primed it. I declined the paint as I had about 20 cans of Rustolem Flat Black back in the garage.

Getting ready for  the piĆØce de rĆ©sistance: Krylon Flat Black


The next item was to strip and clean the front suspension bits. I had some cool MantisRacing CNC'd strut hats and bar that I won a couple of years ago at Nationals. I ran into some fitment issues and while I'm sorting that out, I took apart the camber plates, strut hats, and sway bar assemblies. Cleaned all the grit and lubed them up and reassembled.

Mantissport strut hats and the Ground Control camber plate and my strut bar attachement


Next on the tick list, was replacing the hood pins. The goal was to make them a bit more fool (me) proof. Here's me at Lime Rock 2 years back.

This is when the loose nut behind the wheel forgets the hood pins.


Here's the former setup


And the new flush mounted edition with internal pin.


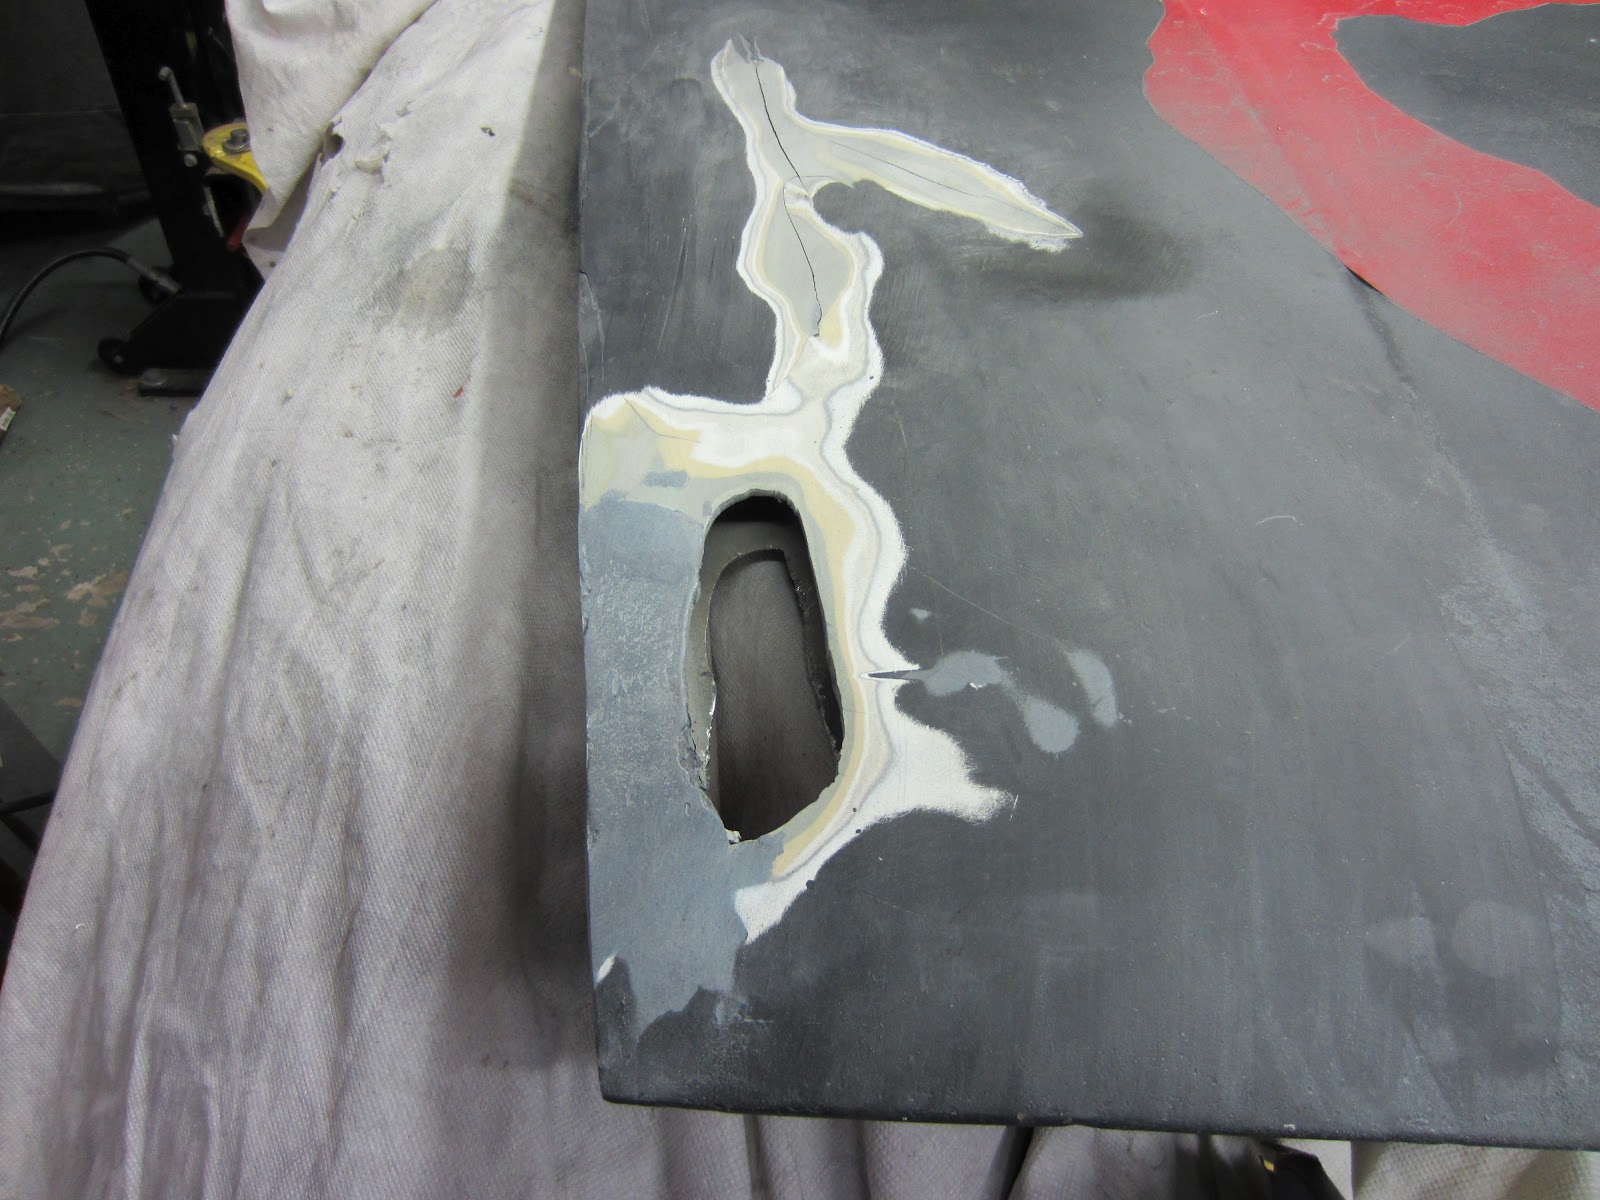
Drivers side, easy peasy. Passenger not so much. Seems there was about 5 lbs of bondo on the corner of that hood and when I started drilling and sawing the hole, it started flaking off in huge lumps. If it's not one thing its another ...
Putting the bondo universe back in balance.


And what started this whole post, oh yeah, the wheels. What is he going to do with them. Leave them white? Of course not. Remember Spring Fashion Tips? A pop of color? I'm painting them in the traditional Porsche color of Pink! Remember the Pink Pig? Here's my tribute.

Sunglasses not required. It will be raining when I'm running these.

Tools - an addedum

As readers know I'm a huge fan of tools. One of these things that these tools have in common beside solving problems, is the generation of large quantities of potential human altering actions or substances. Whether its the potential for cutting off a finger with my cutoff wheel - finally! says the tool, my dreams are realized - or being crushed under my lift, or more typically, flaying off my skin with the wire brush wheel in my grinder.

Lots of nasty bits flying around, ready to be inhaled or ingested, or inserted into some unsuspecting part of my anatomy.

So safety is a big concern. I have about 3 fire extinguishers in the shop. I wear a safety face shield when grinding on stuff, ear protectors when noisy tools are being fired, gloves and respirator while electroplating things. Double check the locks on my lift, etc.

But still, shit happens.

That's why I added something (safety) cool to the garage this week. An Eyewash station. This is for those times when you're crawling under the car, reaching up to fiddle with something, and blam, a rain of crap falls into your face and eyes. And while I don't want to lose a finger, I would have 9 left. I only have two eyes and I need them both to go racing.

So this is there, just in case. And a no-brainer for only $20.


Monday, March 12, 2012

Sometimes it's not the little things

It's the big things .. like a 8500 lb 3/4 ton F250 pickup.

No, I didn't buy a rollback ...

My 944 is finally done done at Behe's. New motor broken in and tuned on the dyno. Friday night I fueled up the F250 to get ready for an early start. It's about an hour and half run down to John's shop just north of DC. I attached the hitch and started backing up to connect to the trailer when ... WTF? my brake pedal goes to the floor.  I don't remember asking anybody to bled my brakes. And what's that smell? That's brake fluid! I should know, I've coated my garage floor with it often enough.

A peek under the cab reveals a dripping mess, brake fluid covering everything. Being that it was 1. dark, 2. cold (about 35 degrees with a wind) and 3. it was in a safe location (my driveway) I decided the most prudent course of action was to head to the garage, open the cooler and remove a nice St. Ambrose Oatmeal stout from Montreal and drink a toast to Canada. Just because.

I also drank a toast - a Saranac Lakes Caramel Porter, don't want to get into a rut - to this happening in my driveway and not on I-95 pulling the trailer at 70 mph. Now that would really suck.

Once things warmed up by Sunday I crawled under for a peek. Looks like a brake line fitting or connection rusted out and let go. Since the truck is too big to get into my garage there's no way to put it up on the lift. And with something like brakes I want to have a good view of what the problem is and what my solution should be.

And the solution turned out to be using my AAA RV Plus membership (thanks honey!) and having it towed to my local truck shop while I went for a bike ride in the woods. Working on race cars, vintage cars and drinking beer is fun. Working on trucks, not so much. I know how to prioritize.

A couple more updates. The 2002 motor is ready for installation. The distributor was installed and should be close to the correct location. The rocker cover received some attention, and the webers had their linkage attached. Now all I need is the car .... but not until I get the truck back please.

Rocker cover in progress

And the final result

Shot of the carb linkage setup. The bridge is a BMW part from somewhere.

Friday, January 27, 2012

Rust Be Gone

While the bimmer is off at the shop and I'm waiting for my engine rebuild kit, I'd thought I devote some attention to accessory bits, like the header.

Before the motor drop, header at bottom

As you can see it's solidly rusted and a nice color if you're a guardrail in a scenic national park. I can't afford to pop for one of the Ireland Engineering stainless steel headers, so let's see if we can resurrect this one.


Perusing the Eastwood catalog for restoration supplies I came across their Rust Dissolver product.

The product picture is a rusty header being cleaned. Reviews have generally been positive so I decided to give it a try.


A closer view of what we are working with.


The results after a night in a bucket in the garage. The garage isn't heated, so I'm working at the bottom end of the recommended temp range. It's more of a thin gel instead of a liquid at this point which since I don't have a large narrow and long tub to soak in is a plus. Just takes longer. And time is free.


Not too bad. This stuff really works. Mild smell, non-toxic, doesn't burn the hands. Good stuff.

A couple of nights later it's looking pretty good. The only physical labor is scrubbing it off in the tub. No power tools, no hand sanding. Better living through chemistry.


And the final result after several coats of high temp satin black paint. This should look good in the engine compartment when done.


Monday, March 28, 2011

In the Garage

Since this is nominally titled 'the alpine garage', let's visit some garage modifications recently done. The racecar went off to Bodymotion in NJ for a general looking over before the start of the season. It's back and in the trailer for now. I'm just waiting for my new belts and other safety gear to show up and I'll be ready.

I've started working on the parts car, pulling bits off for sale or storage. Until the season is underway I'm going to leave it mobile, that is, keep the motor in the car. Once I pull the lump I'm committed to pulling it apart and hauling it away. I'm keeping my options open for a bit.

But meanwhile, what happened here?


Looks like a disaster befell the parts car. Looking skyward we spy this.


 Yikes! A giant hole in the ceiling


And now it's gone (and nicely framed in too)

Time to gain some altitude to see what's going on.


Observation confirmed, it's definitely a hole. So that brings to mind the question, why did the Siberian Huskies dig a hole in my garage ceiling? It had to be the dogs, they specialize in creating holes of all sizes, shapes and depths.


Ah, it seems the Sibes have located the nearest Harbor Freight and bought themselves a toy.


I see their plan now. They are going to store their stash of bones, small logs, and de-stuffed toy animals in the attic above the garage. Right above my nose! They're sneaky, little furry bastards.

Right now they're out down at the bottom of the hill, busy disemboweling a deer, or the neighbor's poodle or something. So I'm going to turn the tables on them and store MY stuff up there.

Let's start with a 944 motor. I can use the floor space in the garage, since there will be another 2.7L motor joining it shortly.


Mission accomplished, one 2.5L motor tucked away. Close the hatch and they'll never know ...

Sunday, December 19, 2010

Build Progress

Time for another update.

A fair amount of progress has been done in the last couple of weeks even though I've been taking it slowly. Let's review.

Here's a look at the Lindsey Racing oil pan modification. The hinged door prevents the oil from sloshing all to one side of the pan during hard cornering, leaving the oil pickup tube uncovered and sucking air. This, the cross drilling of the crankshaft and 3 sacrificed squirrels in the back yard are to guard against the dreaded 944 #2 spun bearing issue. When that happens, a frequent outcome is a connecting rod and piston thru the block if you don't catch it in time. My last big boom was something completely different, but you do what you can.


Now the bottom end of the engine is done, so add the oil pan and seal it up.


Oil cooler and engine mounts now attached.


Head with the priceless 2.7 valves now securely bolted down. The bolting sequence is kind of unique. Instead of bolting to a specified torque value, you use degrees. The bolting sequence is in 3 steps. All steps are done using a specific pattern. The first step is a light torque to settle everything. Wait 15 minutes, then turn the nut 60 degrees. Wait another 15 minutes and then again turn each nut 60 degrees. Sounds weird but that's what the factory manual calls for.


Bolted various bits to the front of motor. Attached the balance shaft pulleys, making sure they were aligned correctly using the obscure Porsche marks as they need to be 180 degrees out of phase with each other when running. Added the spring tensioner device which will be used to tension the timing belt later. The main crank pulley was added. The bit of red tape is to remind me I need to torque the bolt to 150 ft/lbs later. With it on the engine stand there's nothing to stop it from spinning when I start to tighten it down. I'll get to it later.


Later came today. I had to use my engine hoist and pull the motor off the stand so I could add the rear main seal and attach the flywheel. The spot of yellow paint allows me to see the timing mark through a little inspection hole when the motor is all buttoned back up in the car.


Once that was done, I hoisted it back into the air and back onto the engine stand. With the flywheel attached I could use my little homemade tool and lock the motor and keep it from spinning. I made short work of torquing down the crank bolt and that red tape is now gone.

But just because I threw that red tape into the trash doesn't mean we are done with the color red. Meet Ms. Camtower, all prettied up in her holiday fashion.


Getting close to the end of the mechanical work now. It's starting to look like a real motor now.

My (Premature) Obiturary

Lots of news organizations maintain pre-written obits so that when a celebrity passes, they open up the file and need to just update a few l...