So work is continuing on the racecar for the upcoming season. The car came back from Bodymotion with a nice frame for the turbo nose conversion, but there's still a fair bit of work ahead for me.
A boo-boo loading the car into the trailer - man that's spoiler is low! - lead to some unplanned fiberglass work. It's all better now. Since then I've cut out the radiator vent and mounted a mesh grill. I also sourced a tow strap from the UK, bolted it to where my bumper struts used to be mounted, and cut the hole for it in the spoiler.
 |
| Mesh grill keeps the rubber track debris from the radiator |
 |
| Flexible loop means no more barking my shin when walking past the car. |
As part of the turbo nose project, I plan to relocate my oil cooler so it's fed by air from the slot above the radiator slot. While pulling the cooler and hose bits as part of this I think I finally found my last oil leak. The oil seal ring on the sandwich plate between the engine and oil filter was chewed up. That's most likely the source. But I've been wrong before. A new seal is on order.
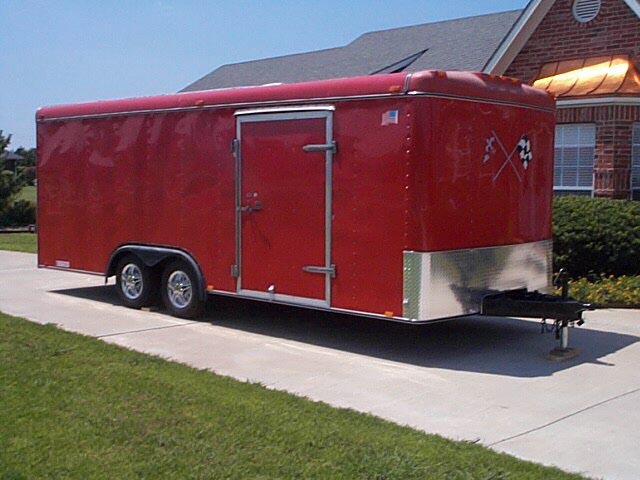
But what has really been capturing my time is the full renovation of my home away from home, the Red Sided Motel aka my enclosed trailer.
It's hard to believe, but I've had the trailer for over 10 years now, being bought back in 2002.
 |
| Back at it's original home in Dallas Texas in 2002 |
 |
| As bought, bare inside other than the checkboard floor tiles |
The first item of business was some more insulation, the walls in particular. The roof was insulated several years ago and it helped immensely with the summer heat. The top of the trailer is just a sheet of aluminum and with Summit Point or VIR summer heat beating down on it, it turned into a convection oven. It would be 95 degrees outside and inside with the A/C going full blast, it still would be 80-85 degrees. Insulating the roof fixed that. But those nights at the Glen in early May, or at NJMP in late October it would be a bit chilly inside. There's nothing but some thin plywood and an aluminum sheet between me and the elements. So off to Home Depot for some foam insulation sheets. Lightweight and easy to handle, they should help. But to install ... everything needs to come apart. All the upgrades, anything screwed or bolted to the wall. Think of it as a to-the-frame restoration. This will also give me a chance to fix, repair, clean, touch up all the stuff that's normally neglected.
 |
| Yes, everything needs to come out. Going to the bare frame. |
 |
| One panel done, all the rest to follow. |
The foam panels are cut and glued with Liquid Nails to the back of the thin plywood interior walls.

GFI Electrical outlets replaced, and resealed as needed.
 |
| Made it to the front part of the trailer. |
 |
| A look back at the debris from the all the front racks, shelves, etc. |
 |
| Inside nose |
Another major time sink/project is the replacement of the tiled floor. The checked flag pattern was cool looking, but it just didn't hold up to the sustained use. Oil leaks, broken cars and hot tires have taken their toll. These were peel and stick tiles which often didn't want to stick. The pattern was discontinued and required a fair amount of maintenance. They were heavy to boot. Getting rid of them will get me back 75 lbs. The plan is to use an epoxy based floor paint, like a garage floor paint. It should wear well and be easy to keep clean. But first, the old tiles must come up. Nothing for it, but some good old fashion manual labor here. Just me, my creaky knees, a heat gun and a scraper and hours of fun. Once the tiles are up I'll still have to remove the left behind adhesive. Being an ice climber has made me fairly pain tolerant, that's coming in handy here.
 |
| De-tiling in process |
So that's as it stands so far at the beginning of March. Most of the walls are insulated and re-hung. About 80% of the tiles are up. Next tasks are to finish removing the tiles and prep the floor. Paint the walls, redo the trim and paint. Epoxy the floor. Rebuild the front storage area with a rack system and then start adding the misc little holders, helmet rack, shelves, etc.
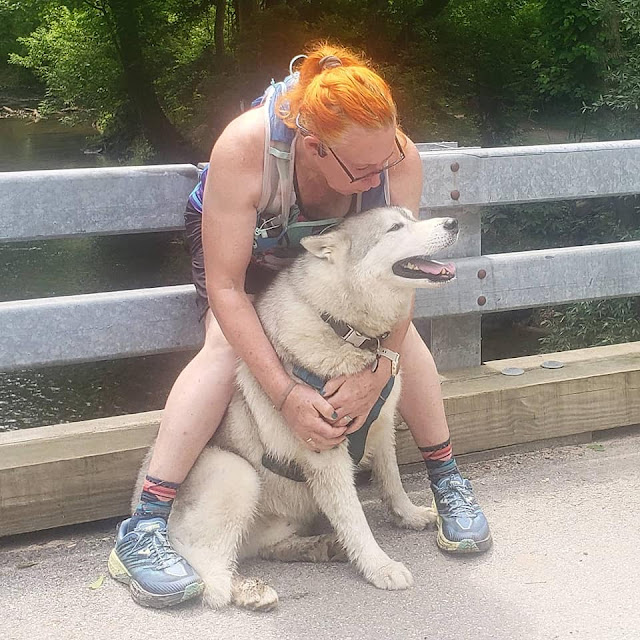
Here's my helper husky Ziva. She looks peeved because I think her butt's stuck to the leftover tile adhesive.


.jpg)

No comments:
Post a Comment