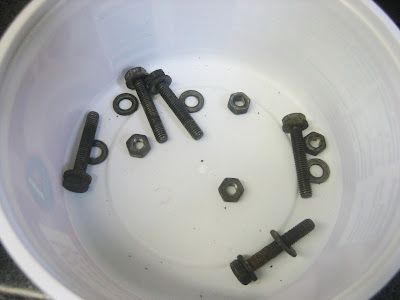
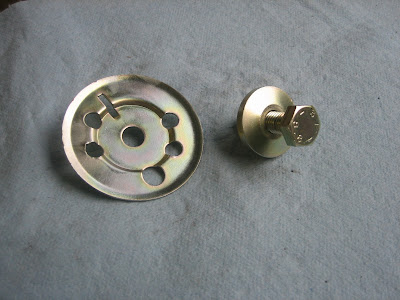
When I last left it, I had done several batches of nuts and bolts, but the results really didn't meet my standards. Time for some serious attention. I upgraded some of my equipment, got a big heavy duty controllable power supply and built a workstation. Last week and weekend I spent time varying parts of the plating process to see if I can come up with a repeatable process with good results.
First step is getting a good working surface suitable for good plating. Like painting, surface prep is probably 50-80 % of the real work. No fancy glass-beading process here, just me and my bench grinder with a wire brush. Since the cadmium surface that was left of some of the bolts was highly toxic, I choose to wear a respirator while grinding the crap off.
 |
| Bolts, nuts and washers in their original glory |
 |
| After wire brushing |
 |
| Wire them up to conduct electricity. This is a pain in the ass if you have 20 washers and nuts. |
 |
| Dunk in a bucket of diluted muriatic acid to remove any rust for about 2 minutes |
 |
| Degreaser step |
 |
| 30A constant current power supply |
 |
| V1 of the plating bucket |
The plating bucket has a special solution to facilitate the transfer of zinc ions to the parts. You can see the zinc plate at the bottom right. It gets hooked to the positive lead of the power supply. I hang parts from a copper tube that's connected to the negative terminal of the power supply. That elongated round tube is a heater which keeps the temp about 105-110 degrees. The square box is an aquarium pump which agitates the solution. As the zinc migrates from the anode plate to the parts, the parts give off a little hydrogen gas. The pump keeps fresh solution flowing over the parts to keep the plating going.
I plate for about 10 mins at 1.5 amps, and then flip the parts around and go for another 10 mins. The flow of zinc is directional, only the parts that can "see" the anode get plated. The backside doesn't, thus the flip.
When the parts come out of the plating solution, they should be nice and shiny. Next a 15 second dip in my yellow chromating solution - nasty toxic stuff, must wear my respirator - and a quick rinse in distilled water and here's the result.
 |
| Oil pan bolts |
Here's a comparison between some original bolts and the final result.
Just like me, they clean up pretty good!
So, how's the process working out? When I started out, maybe 10% of the time would I get something ok or reasonable. After this weekend, I'm about at 50-60% of the time I get great results, and the rest just ok. So I'm making progress, but there's more work to do.
Here's some timing rollers hardware. This is an example of when it goes right. The original plate was dull and oxidized, slight surface rust, the bolt head rusty. Look at it now.


.jpg)


No comments:
Post a Comment