2.7 Engine Rebuild
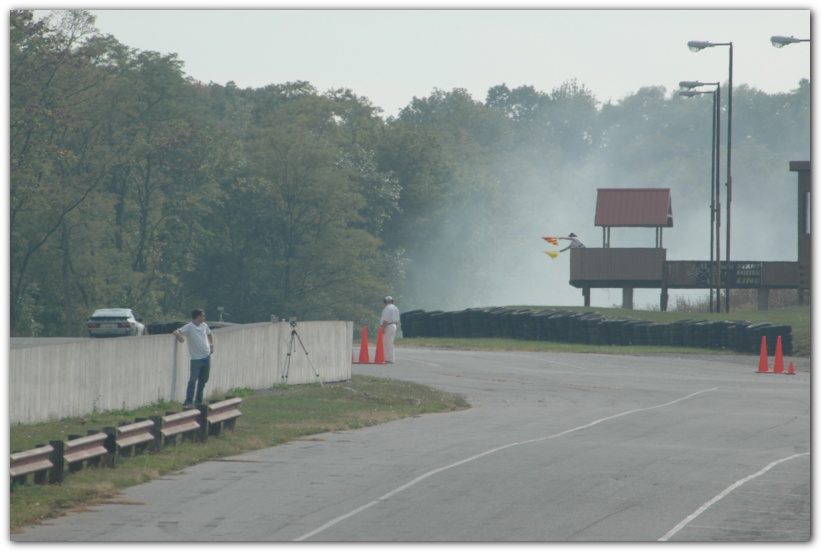
Well after a perfect week at the NASA Nationals, we had this little incident at Summit Point ...
After the race we find this, a part of a connecting rod lying on top of the engine cross member, and a nice size hole in the oil pan.
 |

Ok, since the chances are good that the motor is seriously f'ked up, let go find another one, one that still has all the smoke inside it and plug that one into the racecar. We can worry about the bad motor at another time. That means it's off to the Internet, and in this case, Craigslist. I found an 89 944 (the only year with the 2.7L motor) up in Connecticut. Car had 150K miles on it, original (very flat) motor mounts and a hefty layer of grease, smudge, grime and grit finely layered over the entire engine compartment. But the motor ran and had good compression on each cylinder. After enumerating all the service work $$$ the car needed (belts & rollers, motor mounts, gaskets galore, etc) - it helps to have a certified Porsche Dealer Chief Mechanic (aka Gregg Wilson) with you for authority - the seller parted with the car for $1900 and it was loaded into the trailer for the ride home.
Follow me into my journey rebuilding the engine. This is a first for me, my previous deepest dive into mechanics was the replacing of my head gasket as chronicled earlier. This will be heavy on the pictures and light on the prose (I know my audience) so you have a fair chance of coming back sane. Me, I've already crossed that boundary ...
Step 1: remove engine from car *
* required: engine hoist, gullible friends with mechanical skills: Hey Joel, want to come by and drink some beer?
Would you believe our government trusts this guy to fly $50+ million dollar aircraft? I guess I'll let him work on my donor car ... Joel W, C5 pilot, Porsche buff, PO of the original racecar and owner of way too many tools. Sane? You be the judge.
We dropped the engine with the suspension still attached. It made life a lot easier.
We unbolted the engine and put the suspension and crossmember back into the car so it could be pushed into the back yard. The engine, in all its shiny glory, gets mounted on an engine stand.
This is what I found when I pulled the intake manifold. If you look closer,that's peanut shells. We're only part way done disassembling this. Maybe I'll find the squirel and his family later.
Front of the engine. When I asked the PO when was the timing belts were last done, the answer was: Well I did change the oil and put new tires on it last year. Okay ....
Top end is totally off. Yup, that the tops of the pistons. See the little cutouts in the top. That's so the valves don't contact the piston - aka A Bad Thing - Ask any racer to show you his bent valves collection. On second thought, only do that if you are a) bored out of your skull or b) have no life.
Cam Tower and Head ready to go to the machine shop
Bottom of the motor with the oil pan removed. You can see the oil intake (round object with screen) on the left, and the crankshaft lobes. You can see on the fourth one from the left, where it has been drilled to balance it.
Pistons, connecting rods and rod bearings on display. The bottom part of one of the con rods is what we saw earlier that went through the oil pan on the racecar. Chances are the Infamous #2 rod bearing seized,causing havoc.
The pile of parts for the machine shop grows larger.
We're not finished yet, we haven't found that squirrel yet!


.jpg)


No comments:
Post a Comment